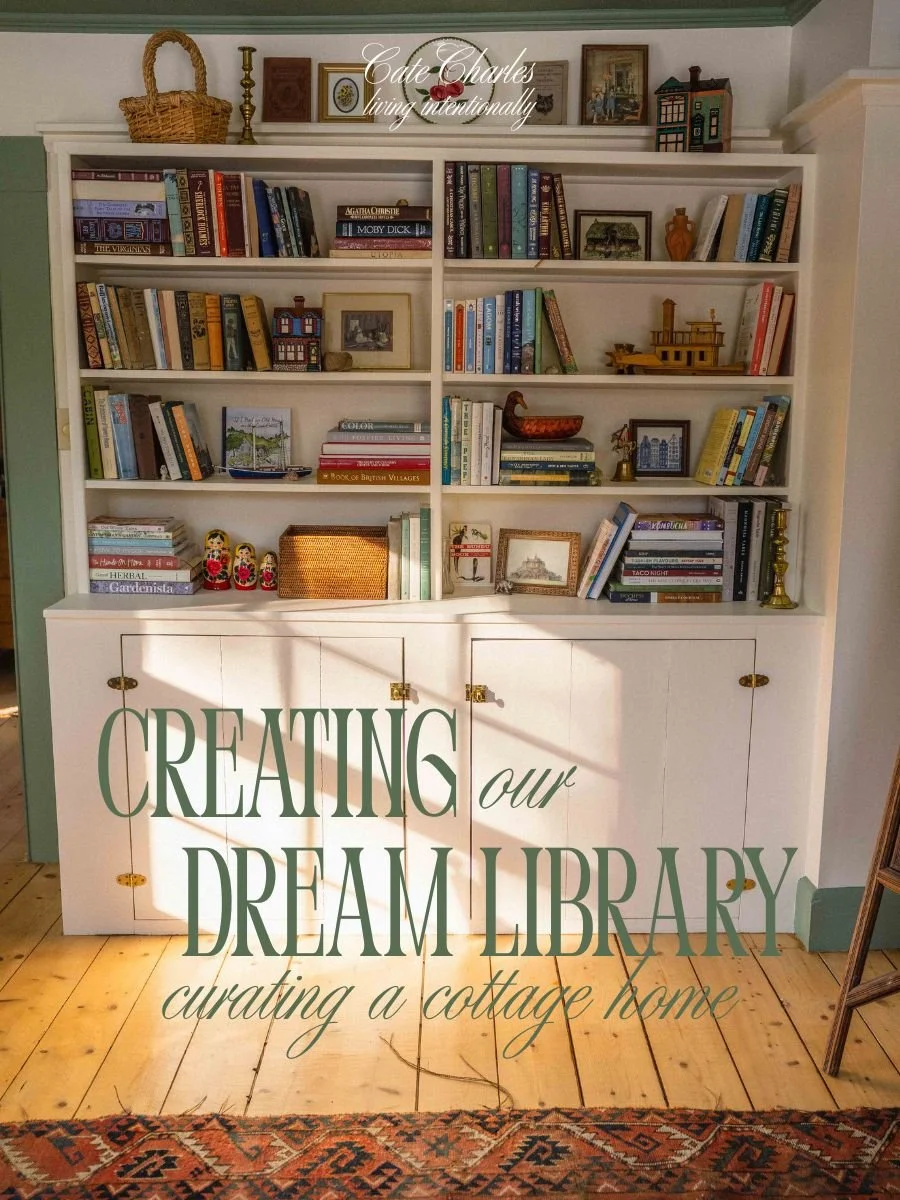
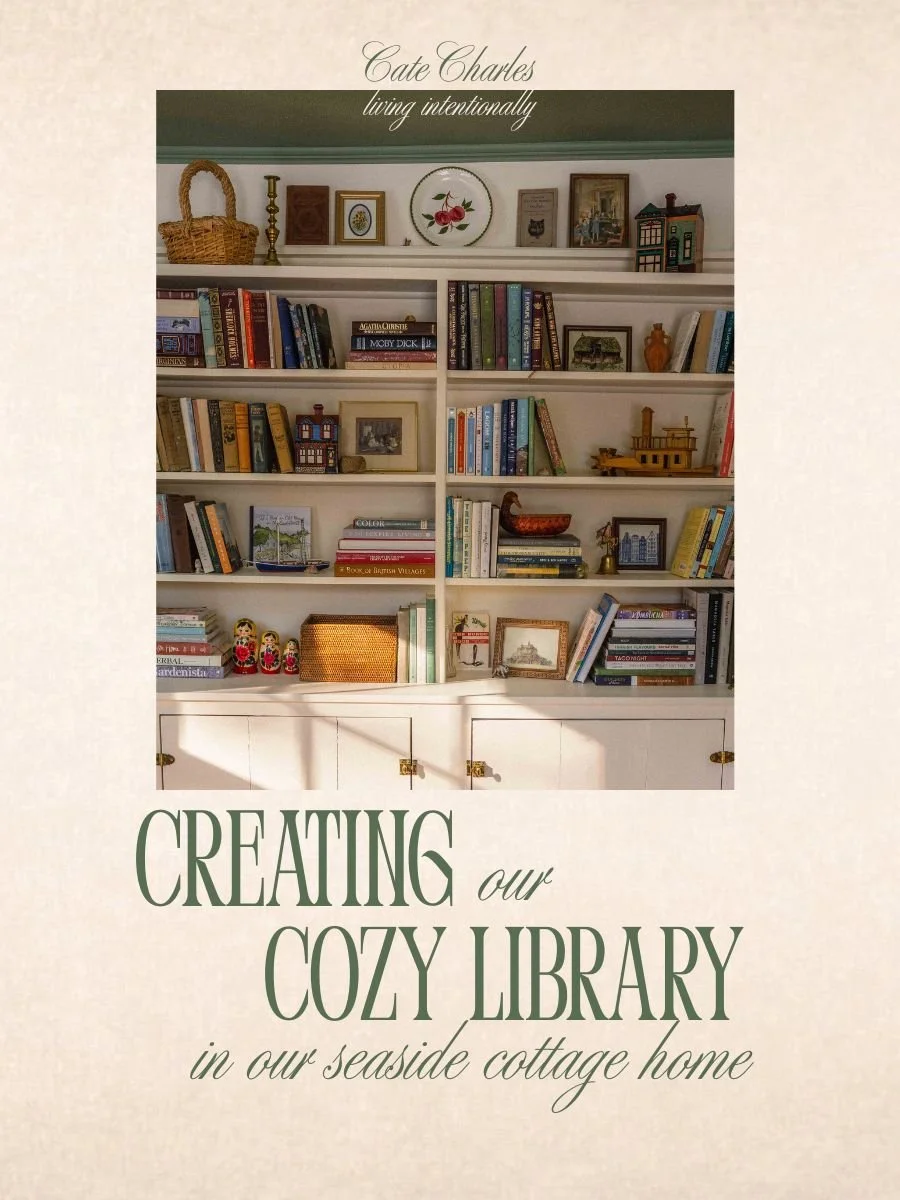
Our Library: The First Room We Updated in Our 200-Year-Old Home
When my husband Calin and I moved across Canada to a 200-year-old house on the coast, we knew that we weren’t going to be renovating right away.
There’s no large renovation budget waiting in the wings, no contractor scheduled, and no dramatic makeover planned. Instead, we were stepping into a slow process — one where rooms would evolve gradually over time.
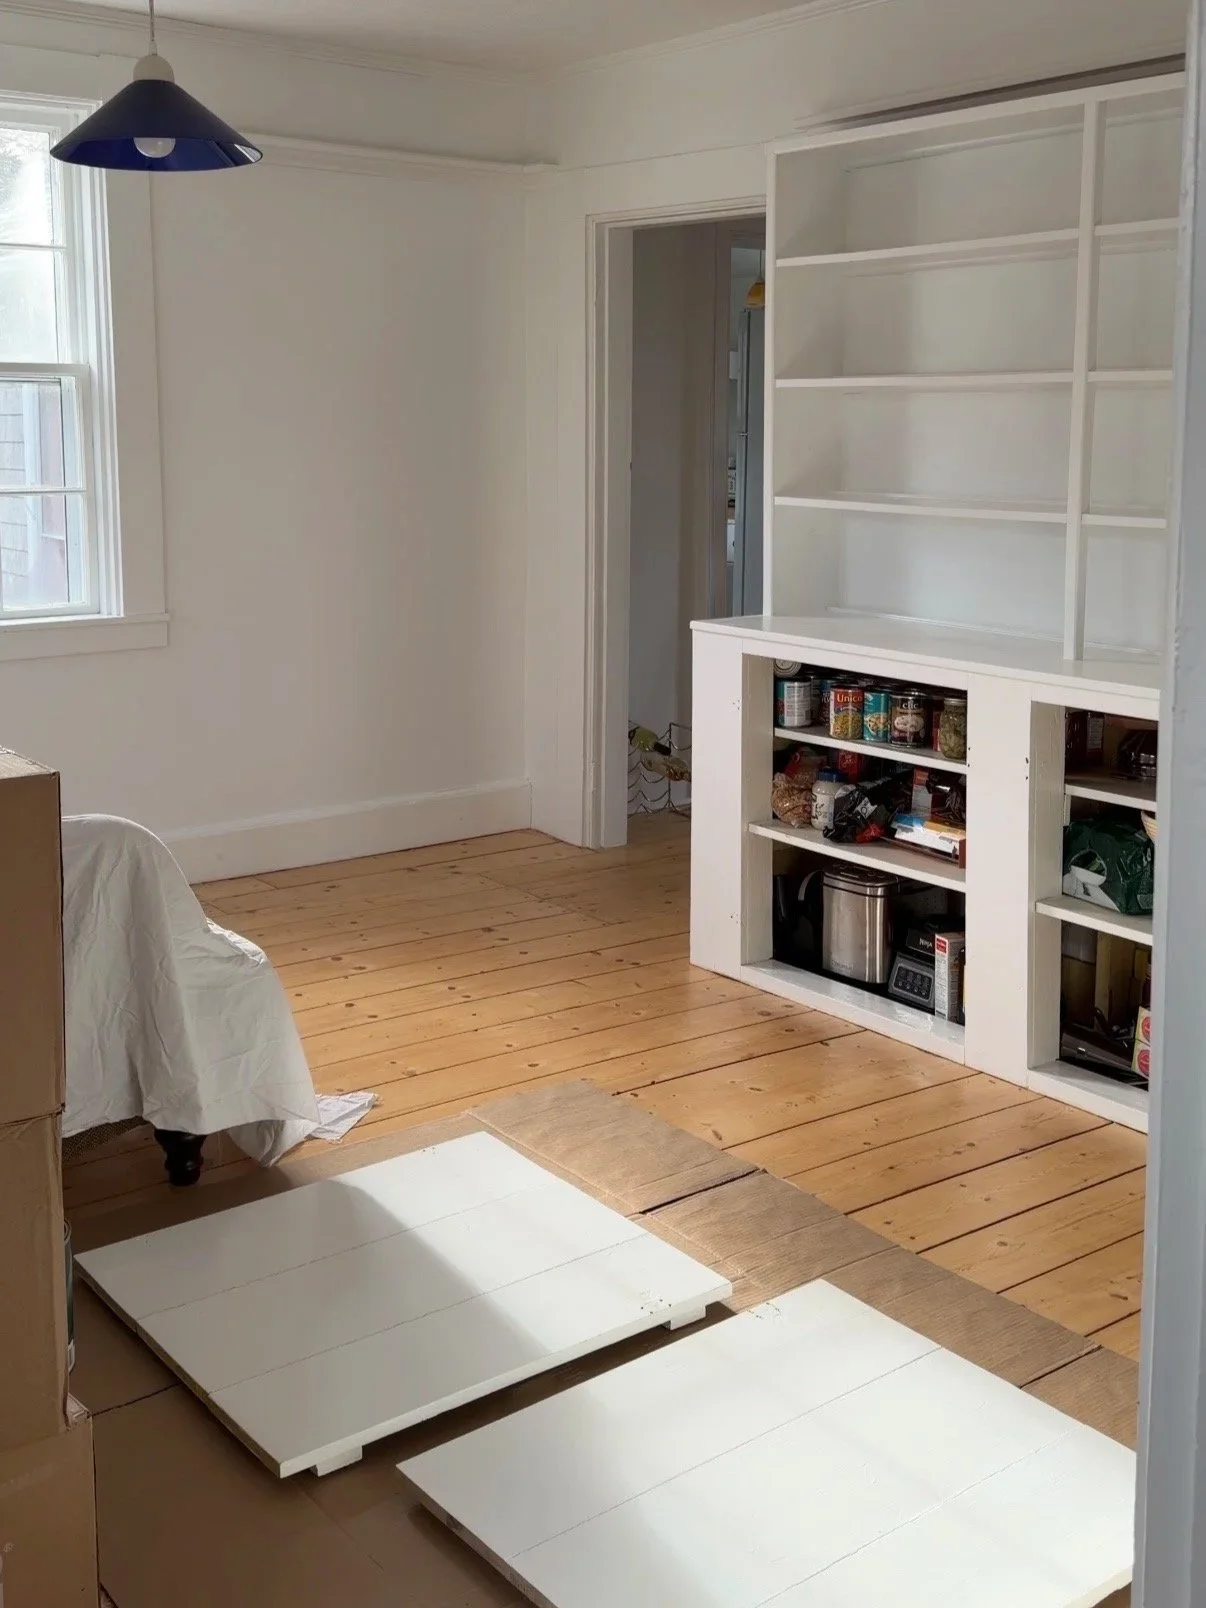
The library became the first room we updated because it already had good bones and it’s the first room you see off the front hall. With built-in shelving, historic trim, and beautiful morning light, we were very excited to begin.
In many ways, this room set the tone for how we’re approaching updating this historic home on a budget.
Why We Started With The Library
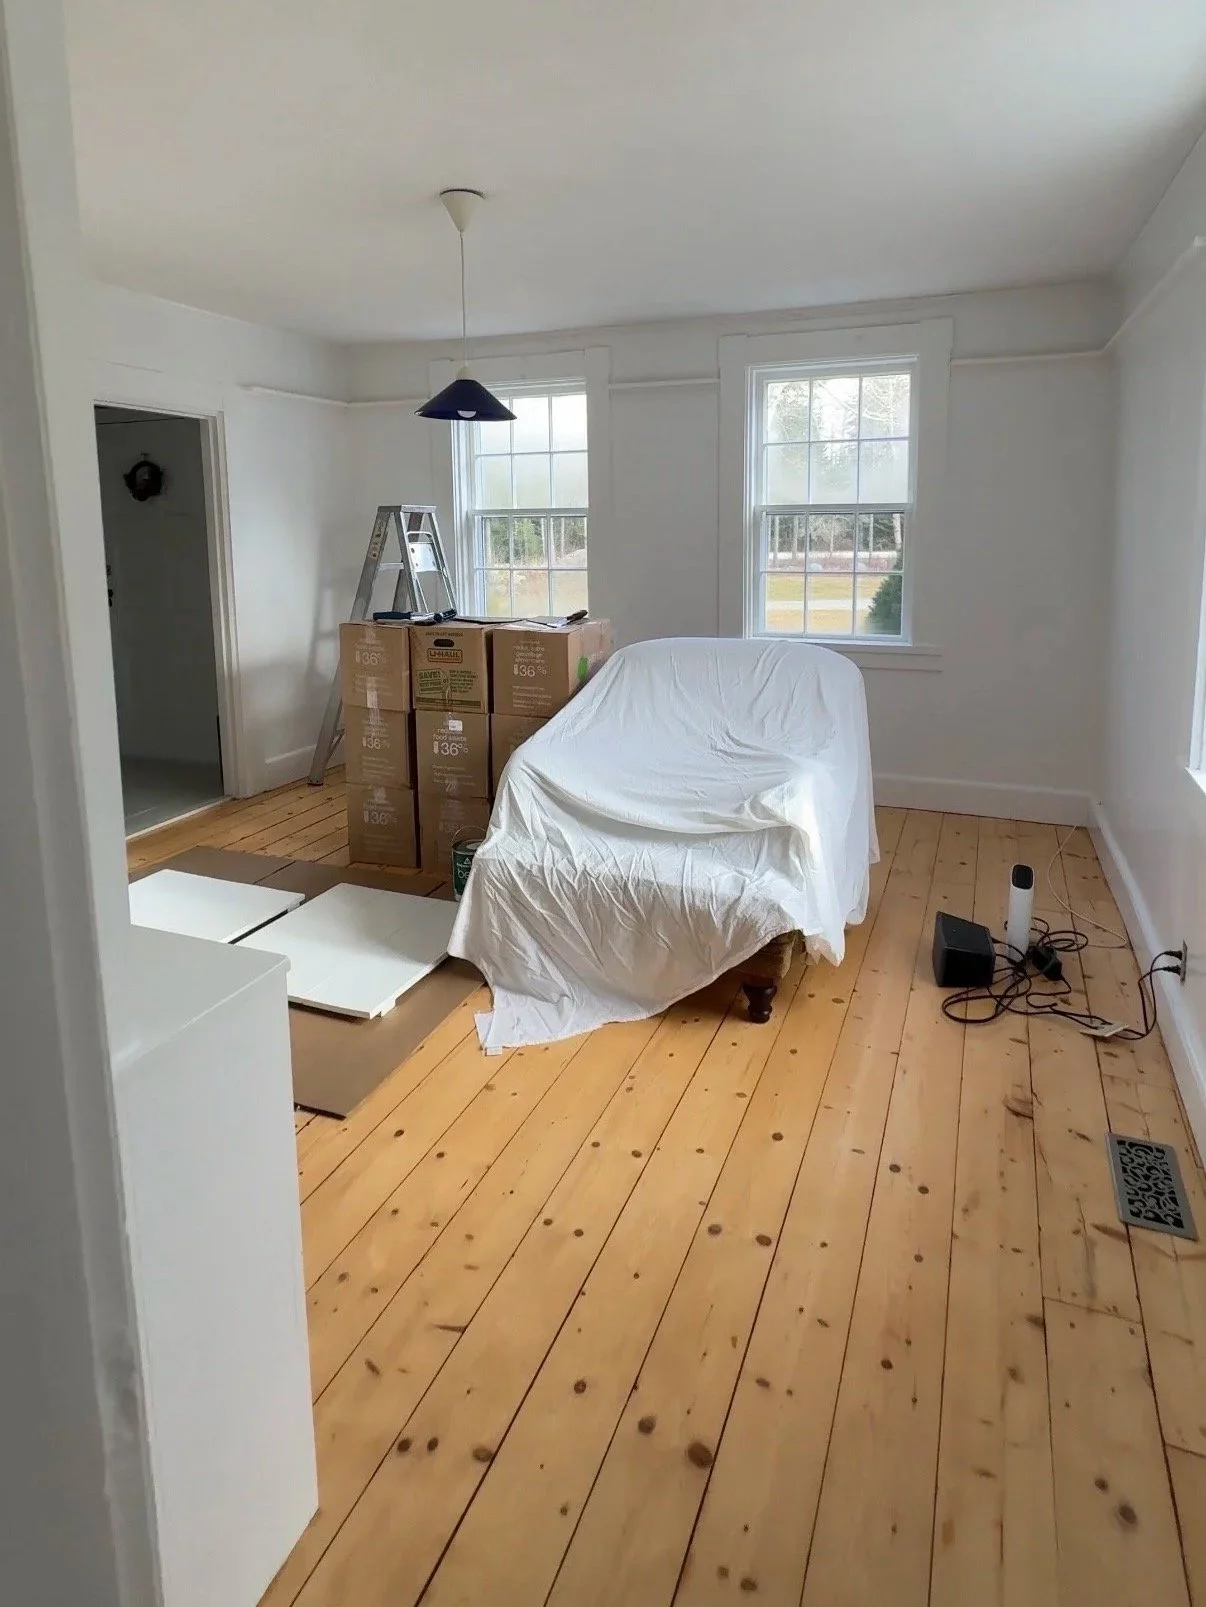
Originally, this room functioned as a dining room; but the moment we moved in, it felt obvious that we needed the space to be something else.
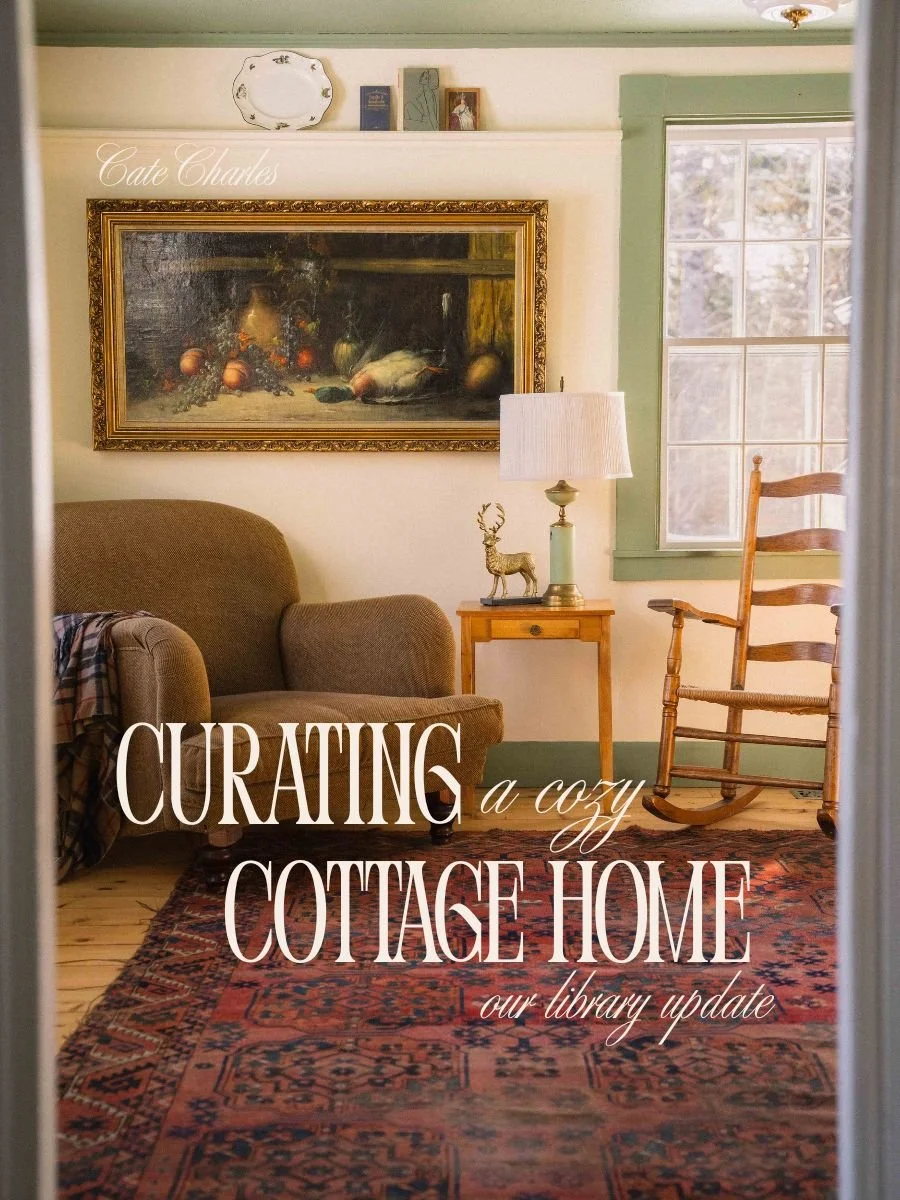
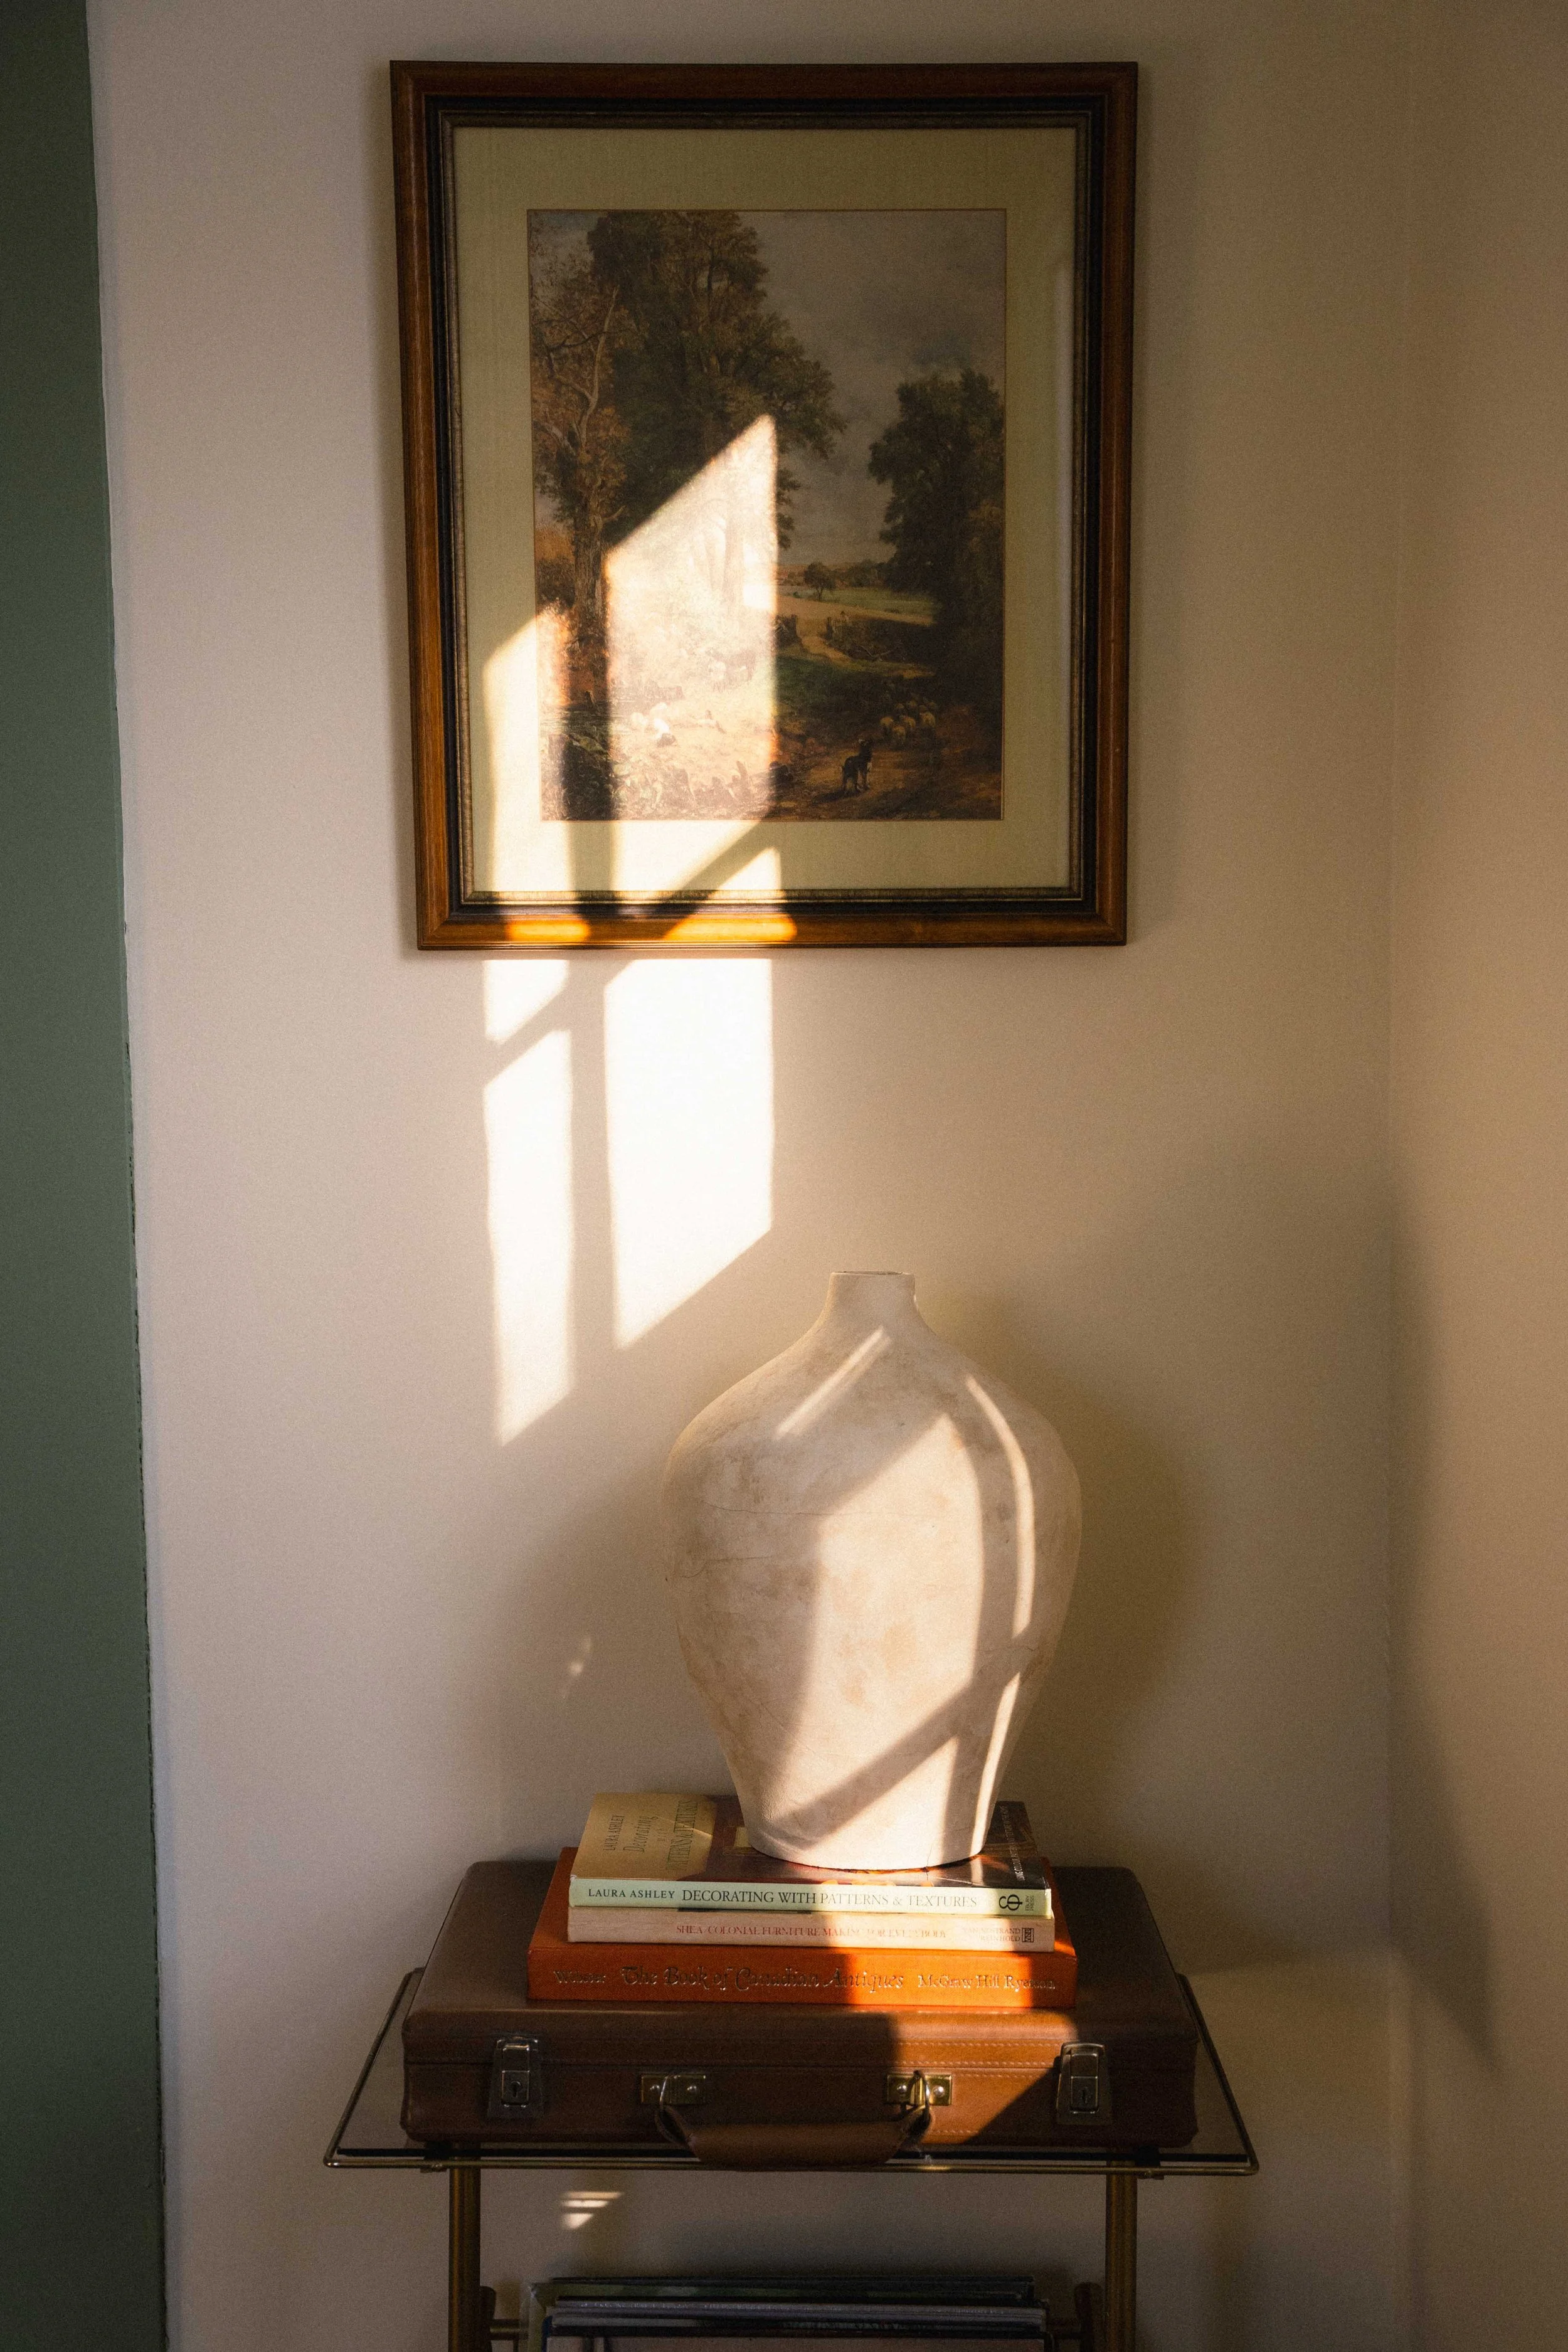
The morning light in here is soft and golden; and as photographers, we really like to take time to appreciate it. Instead of spending time here during the occasional evening dinner, we decided to reinterpret the space as a reading room and home library.
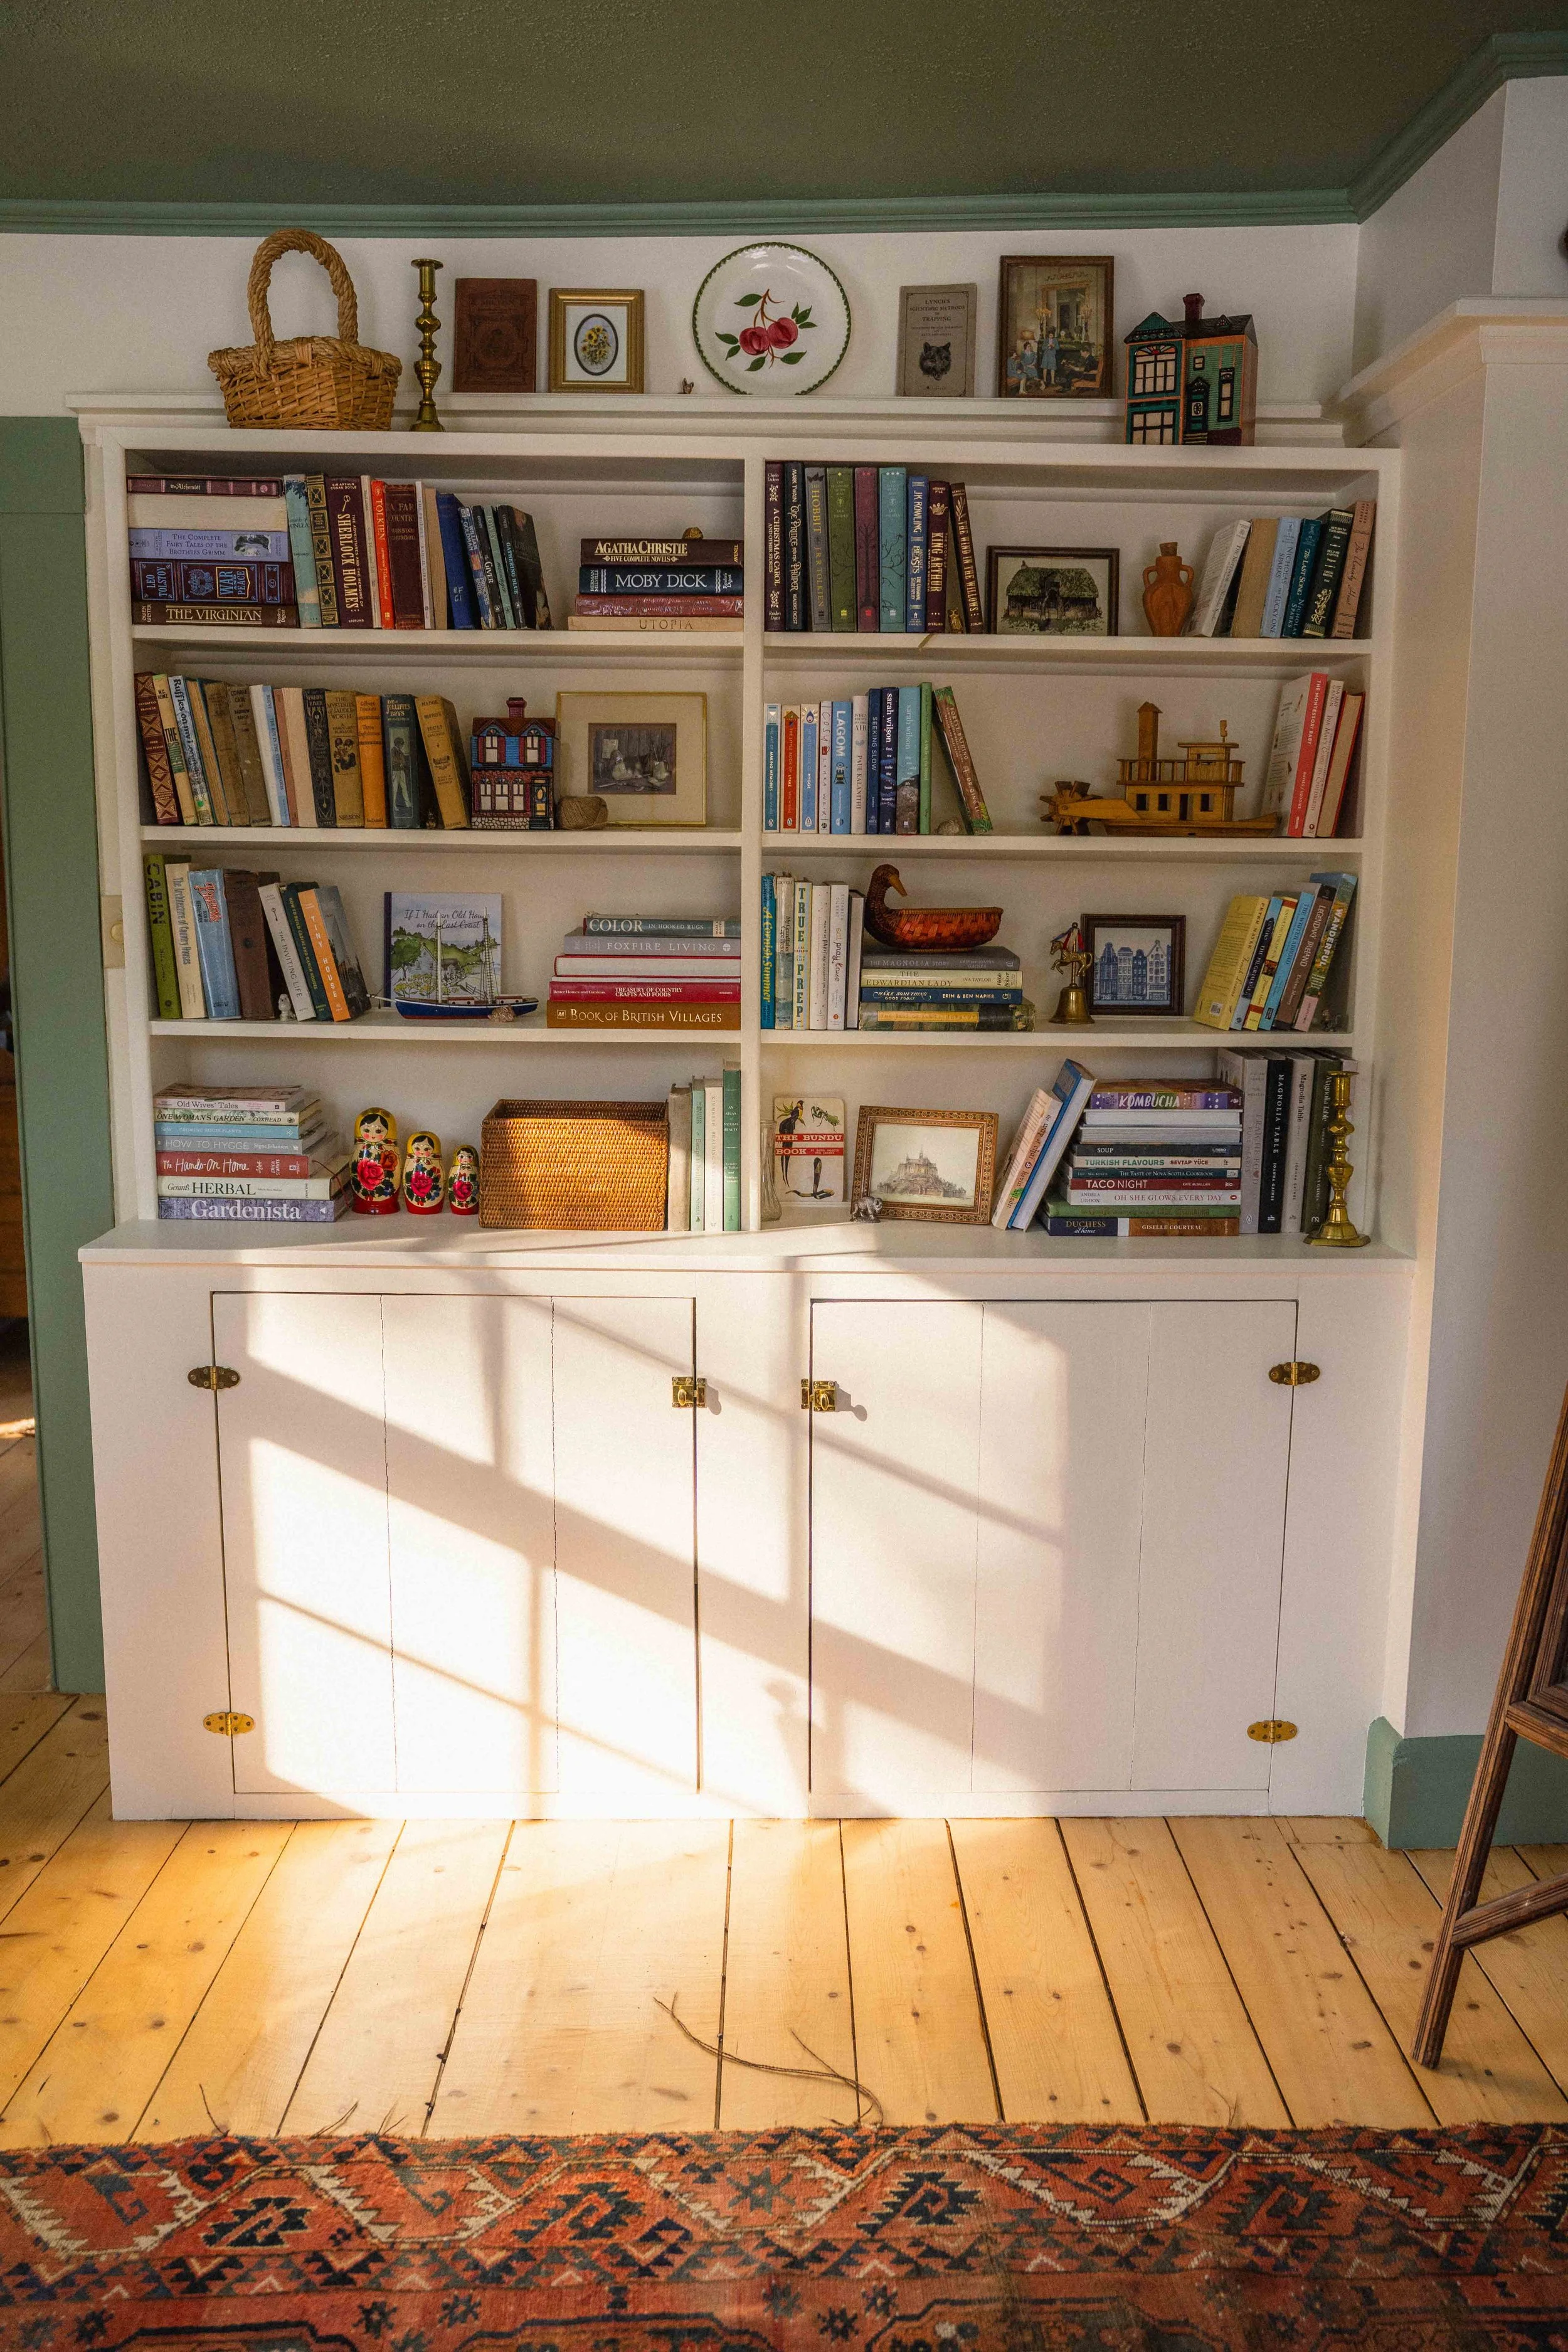
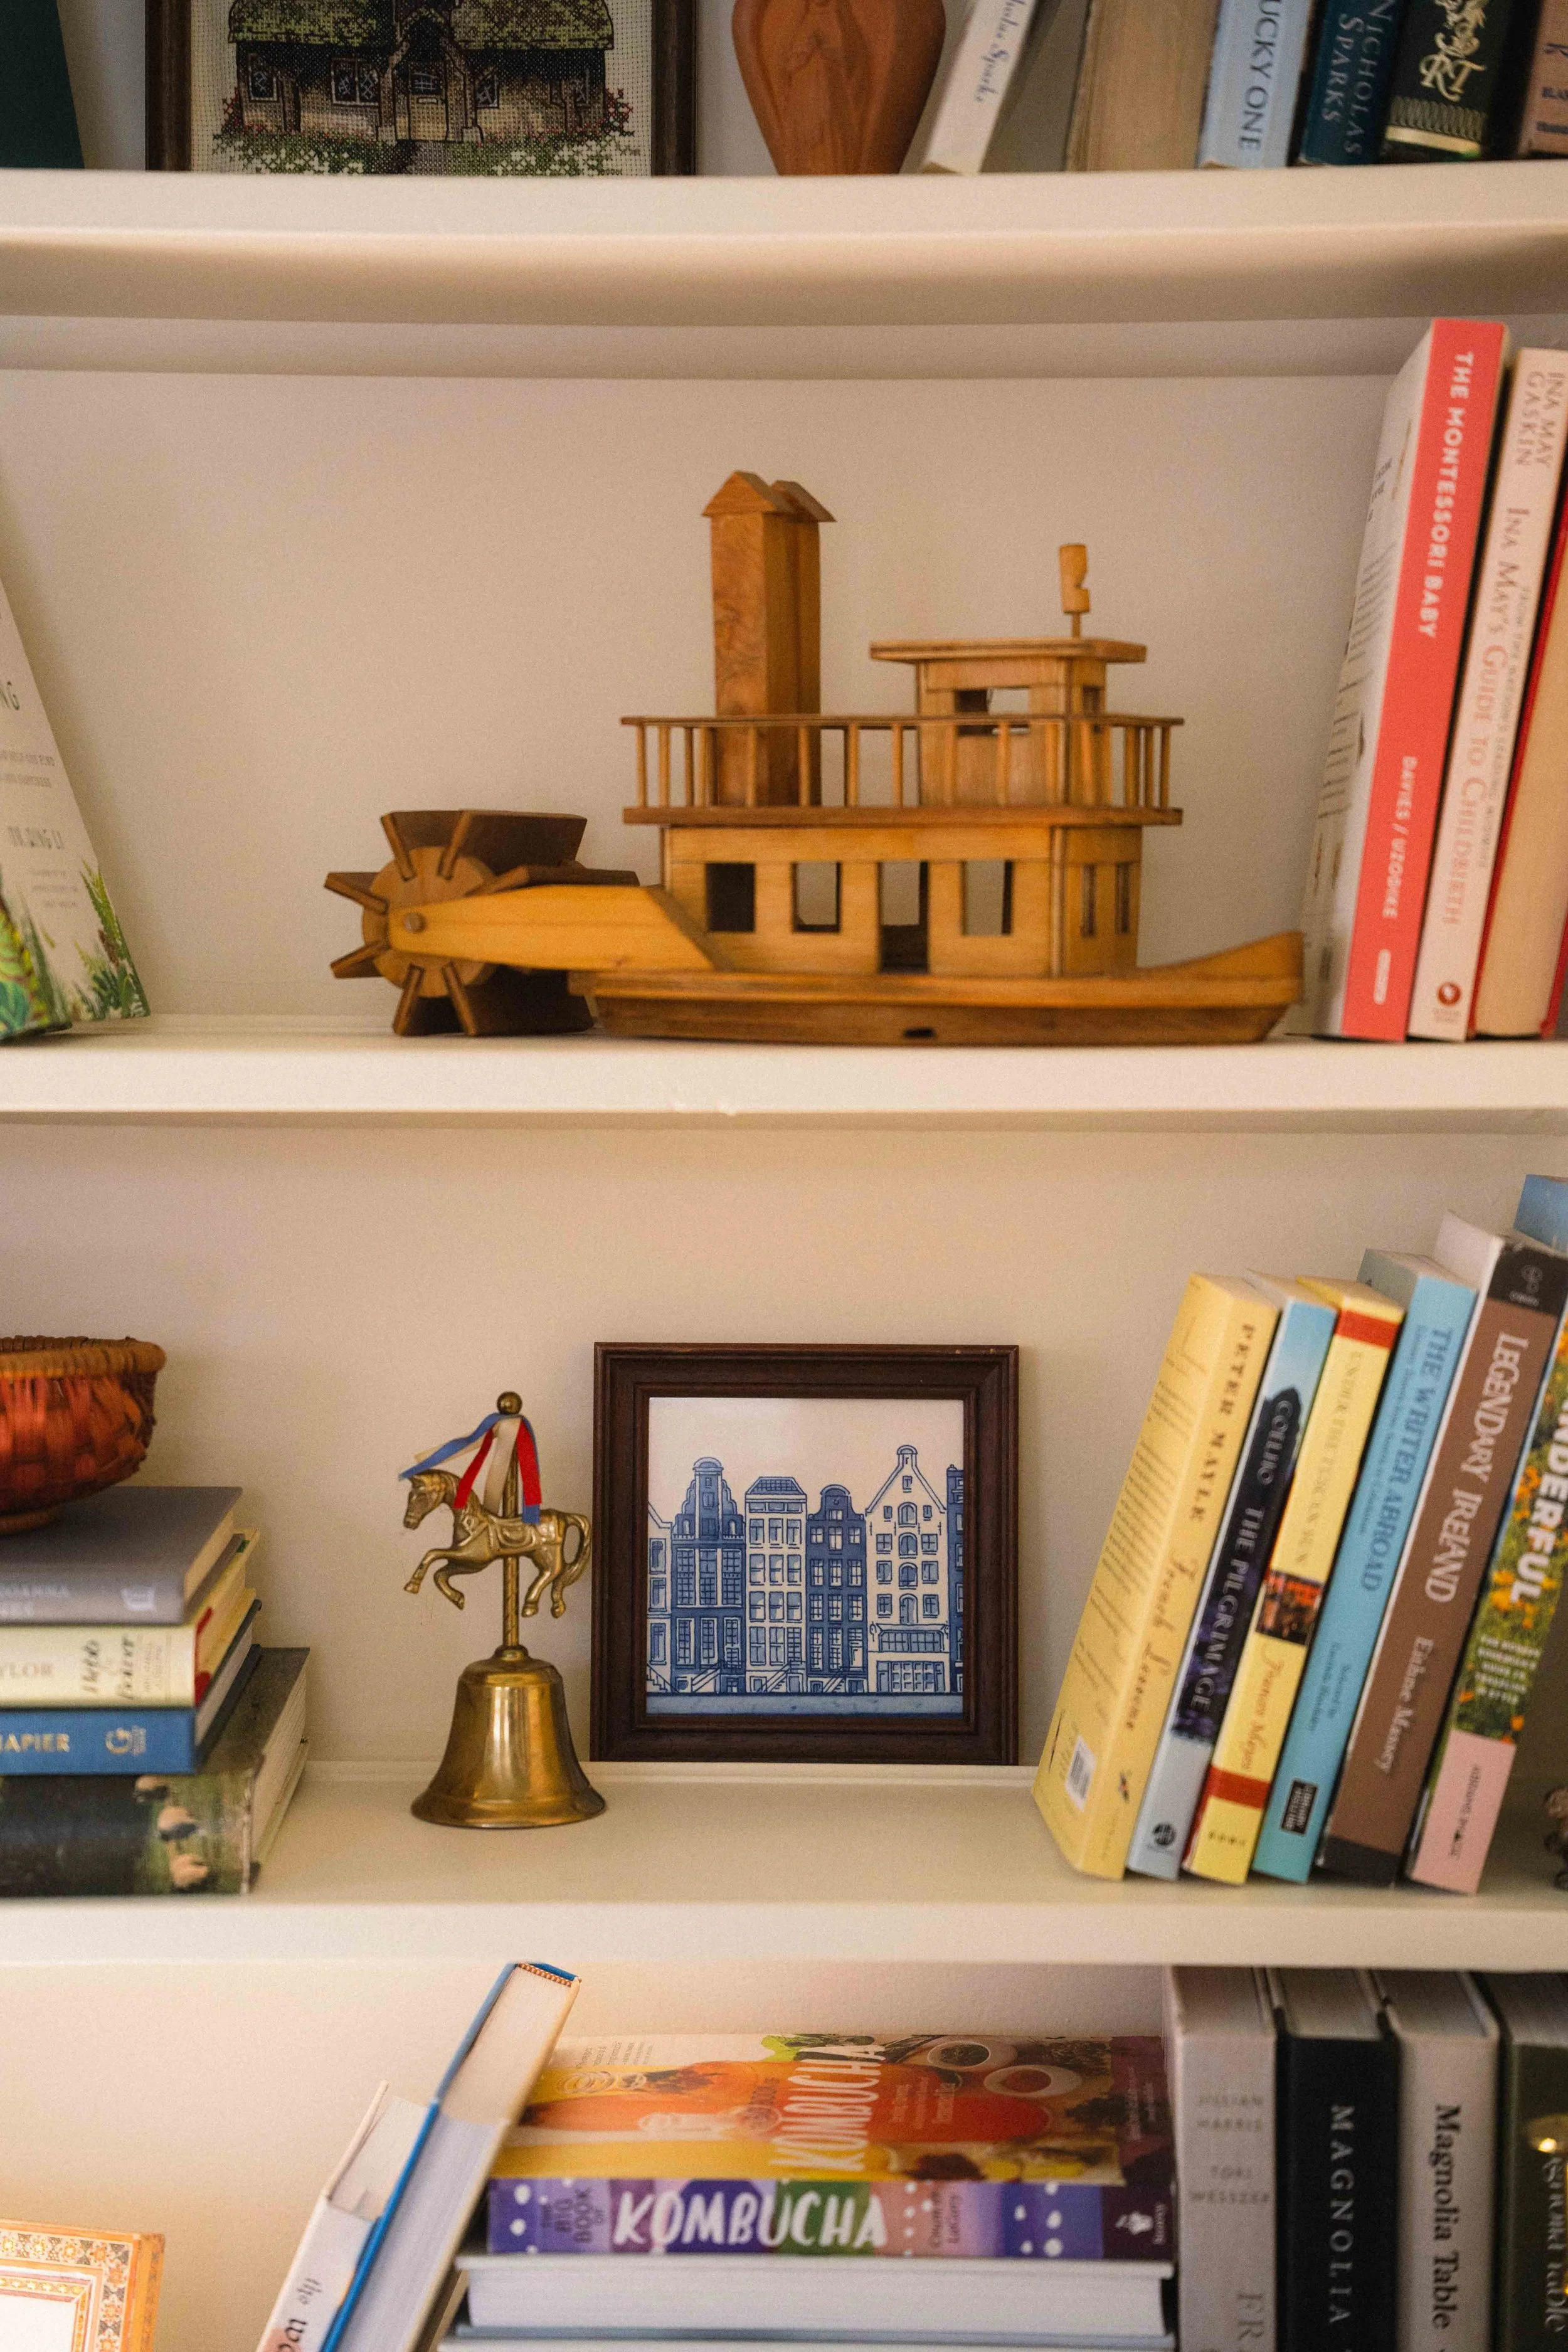
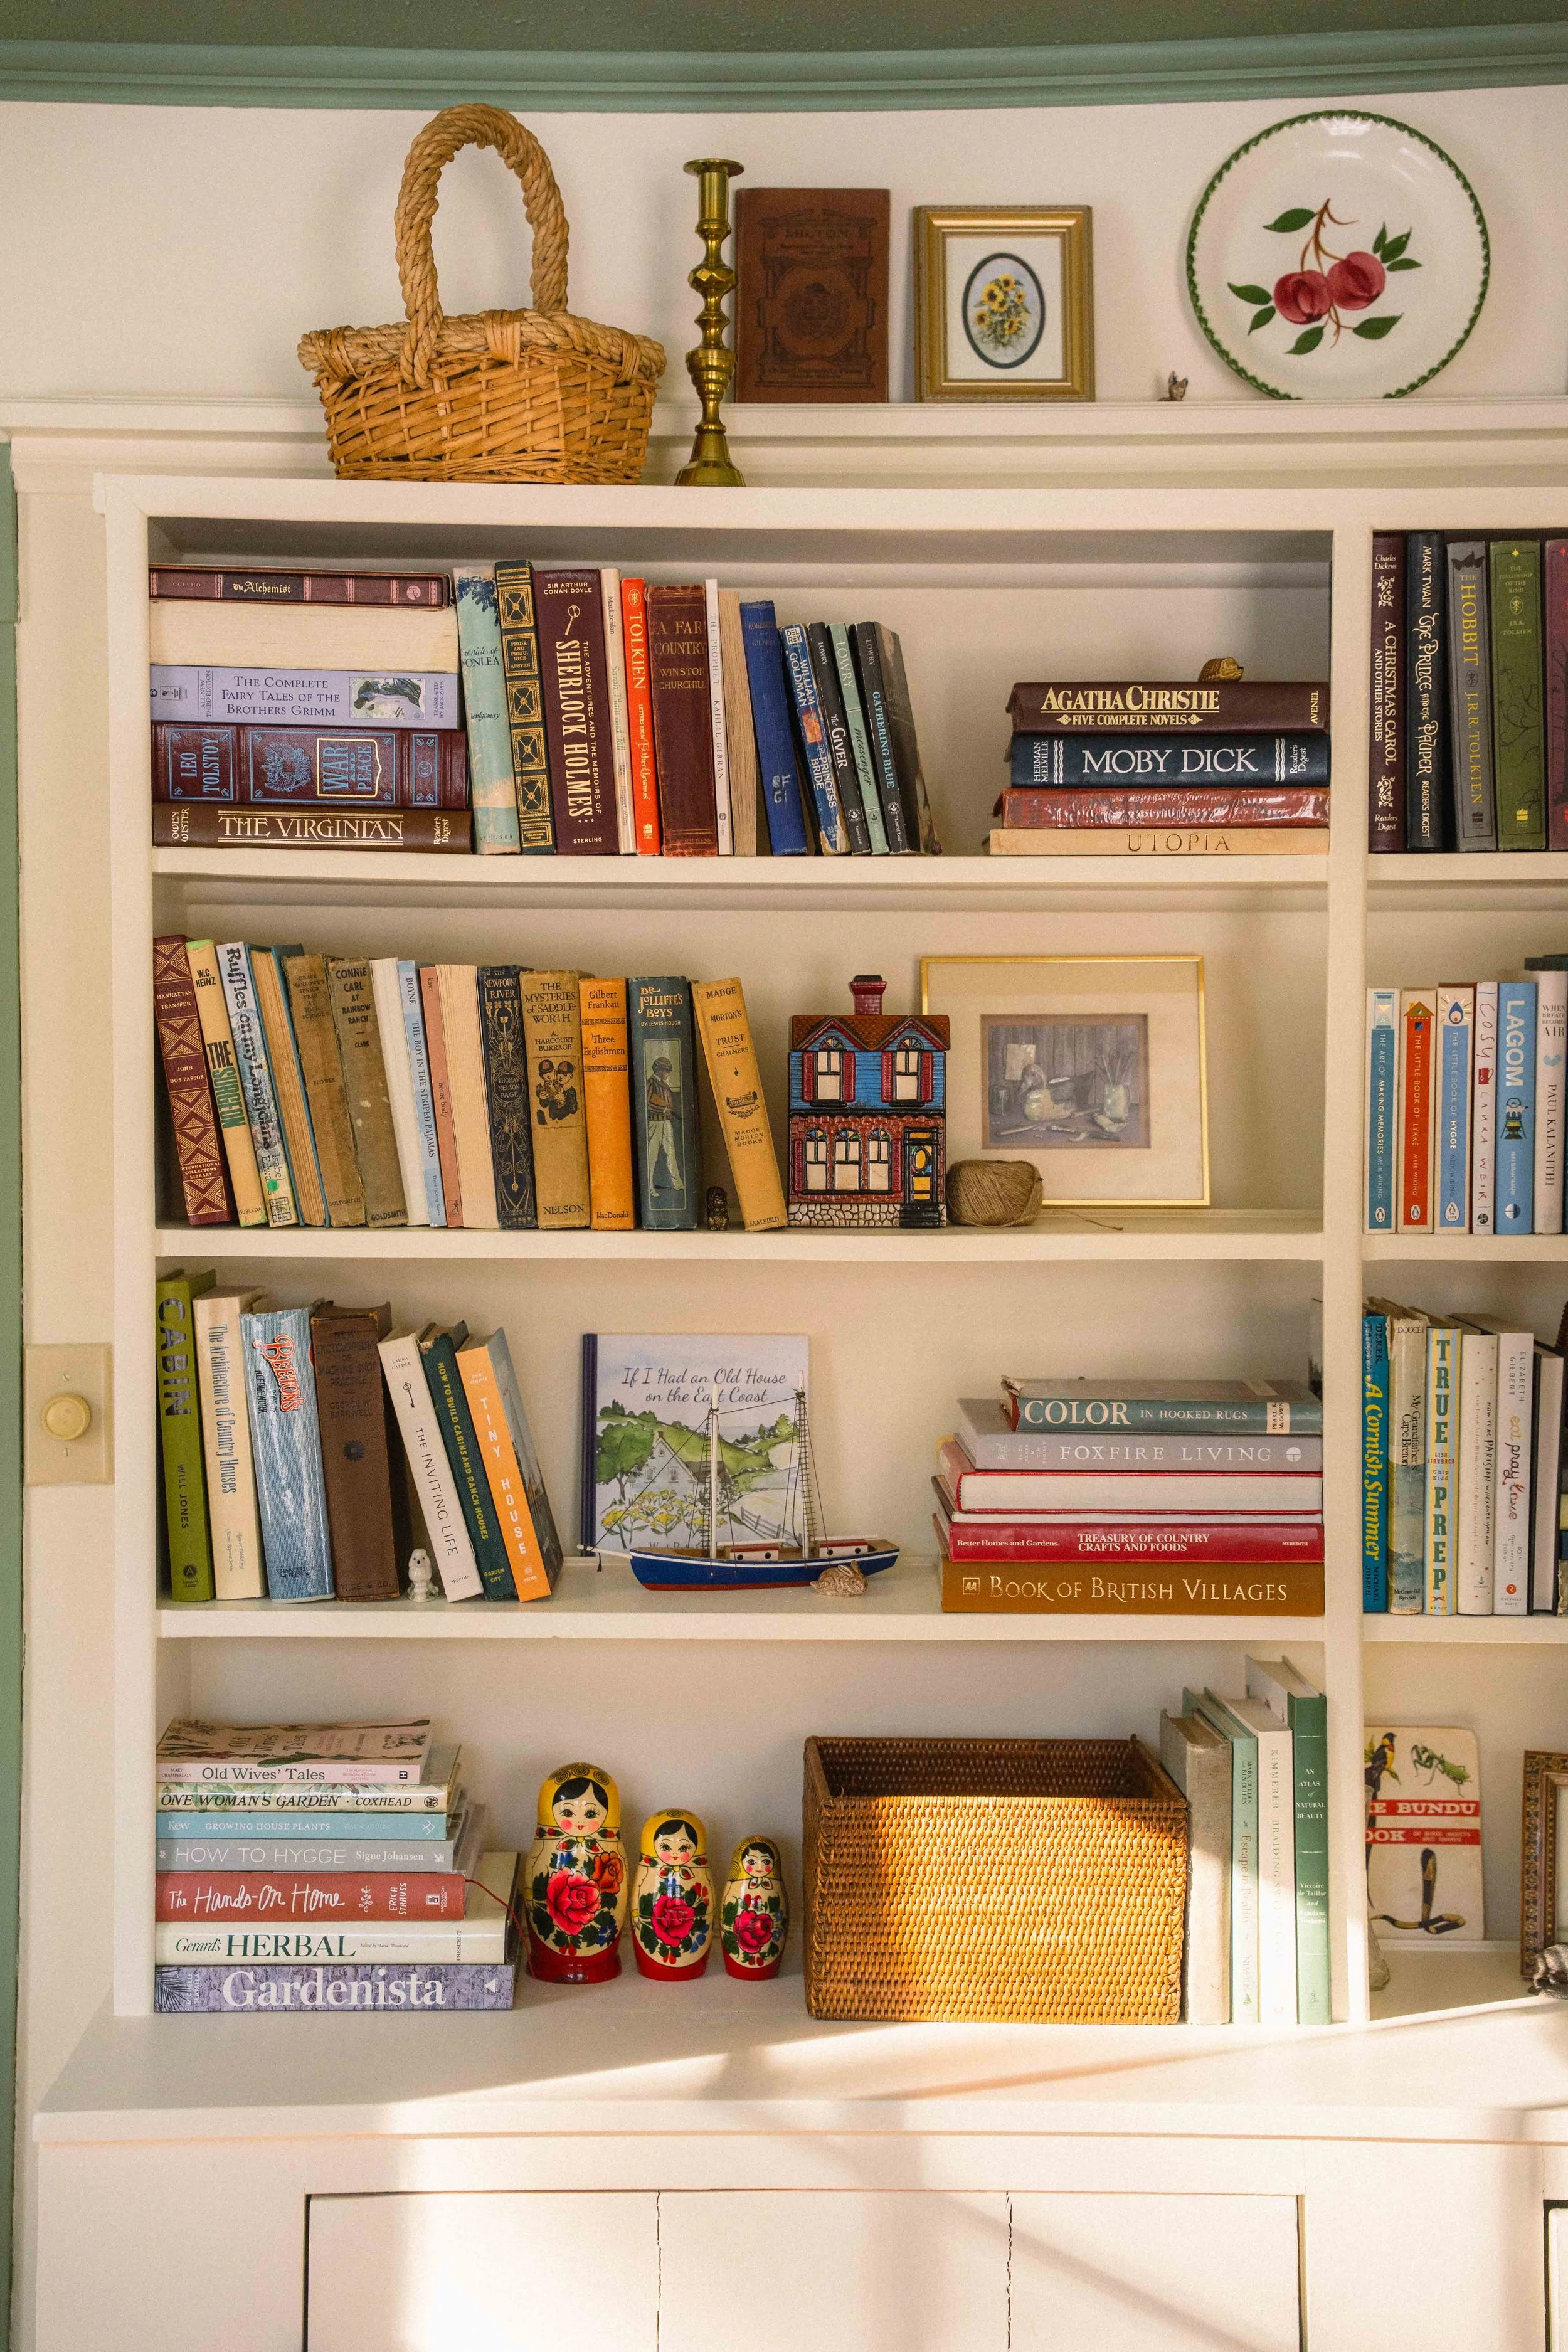
The built-ins that once held dishes (indicated by the safety lip on each shelf), were perfect for my book collection; and the plate racks running around the room now hold some of our favourite collected things.
Turning this space into a reading room felt symbolic of the life we’re trying to build here: slower mornings, fewer screens, and more time for reflection. Making space for a library feels aligned with the kind of life we’re hoping to build here.
Finding Inspiration in Vintage Cottage Interiors
While thinking about the direction for our home’s design, I find myself returning again and again to old cottage and country magazines from the 1980s and 1990s. I always like to let the architecture in a space guide my decisions, and a more traditional style feels right at home here. Rooms always look more lived-in in older inspiration sources. Shelves weren’t styled for photographs, and furniture didn’t match perfectly. Everything looks a bit undone.
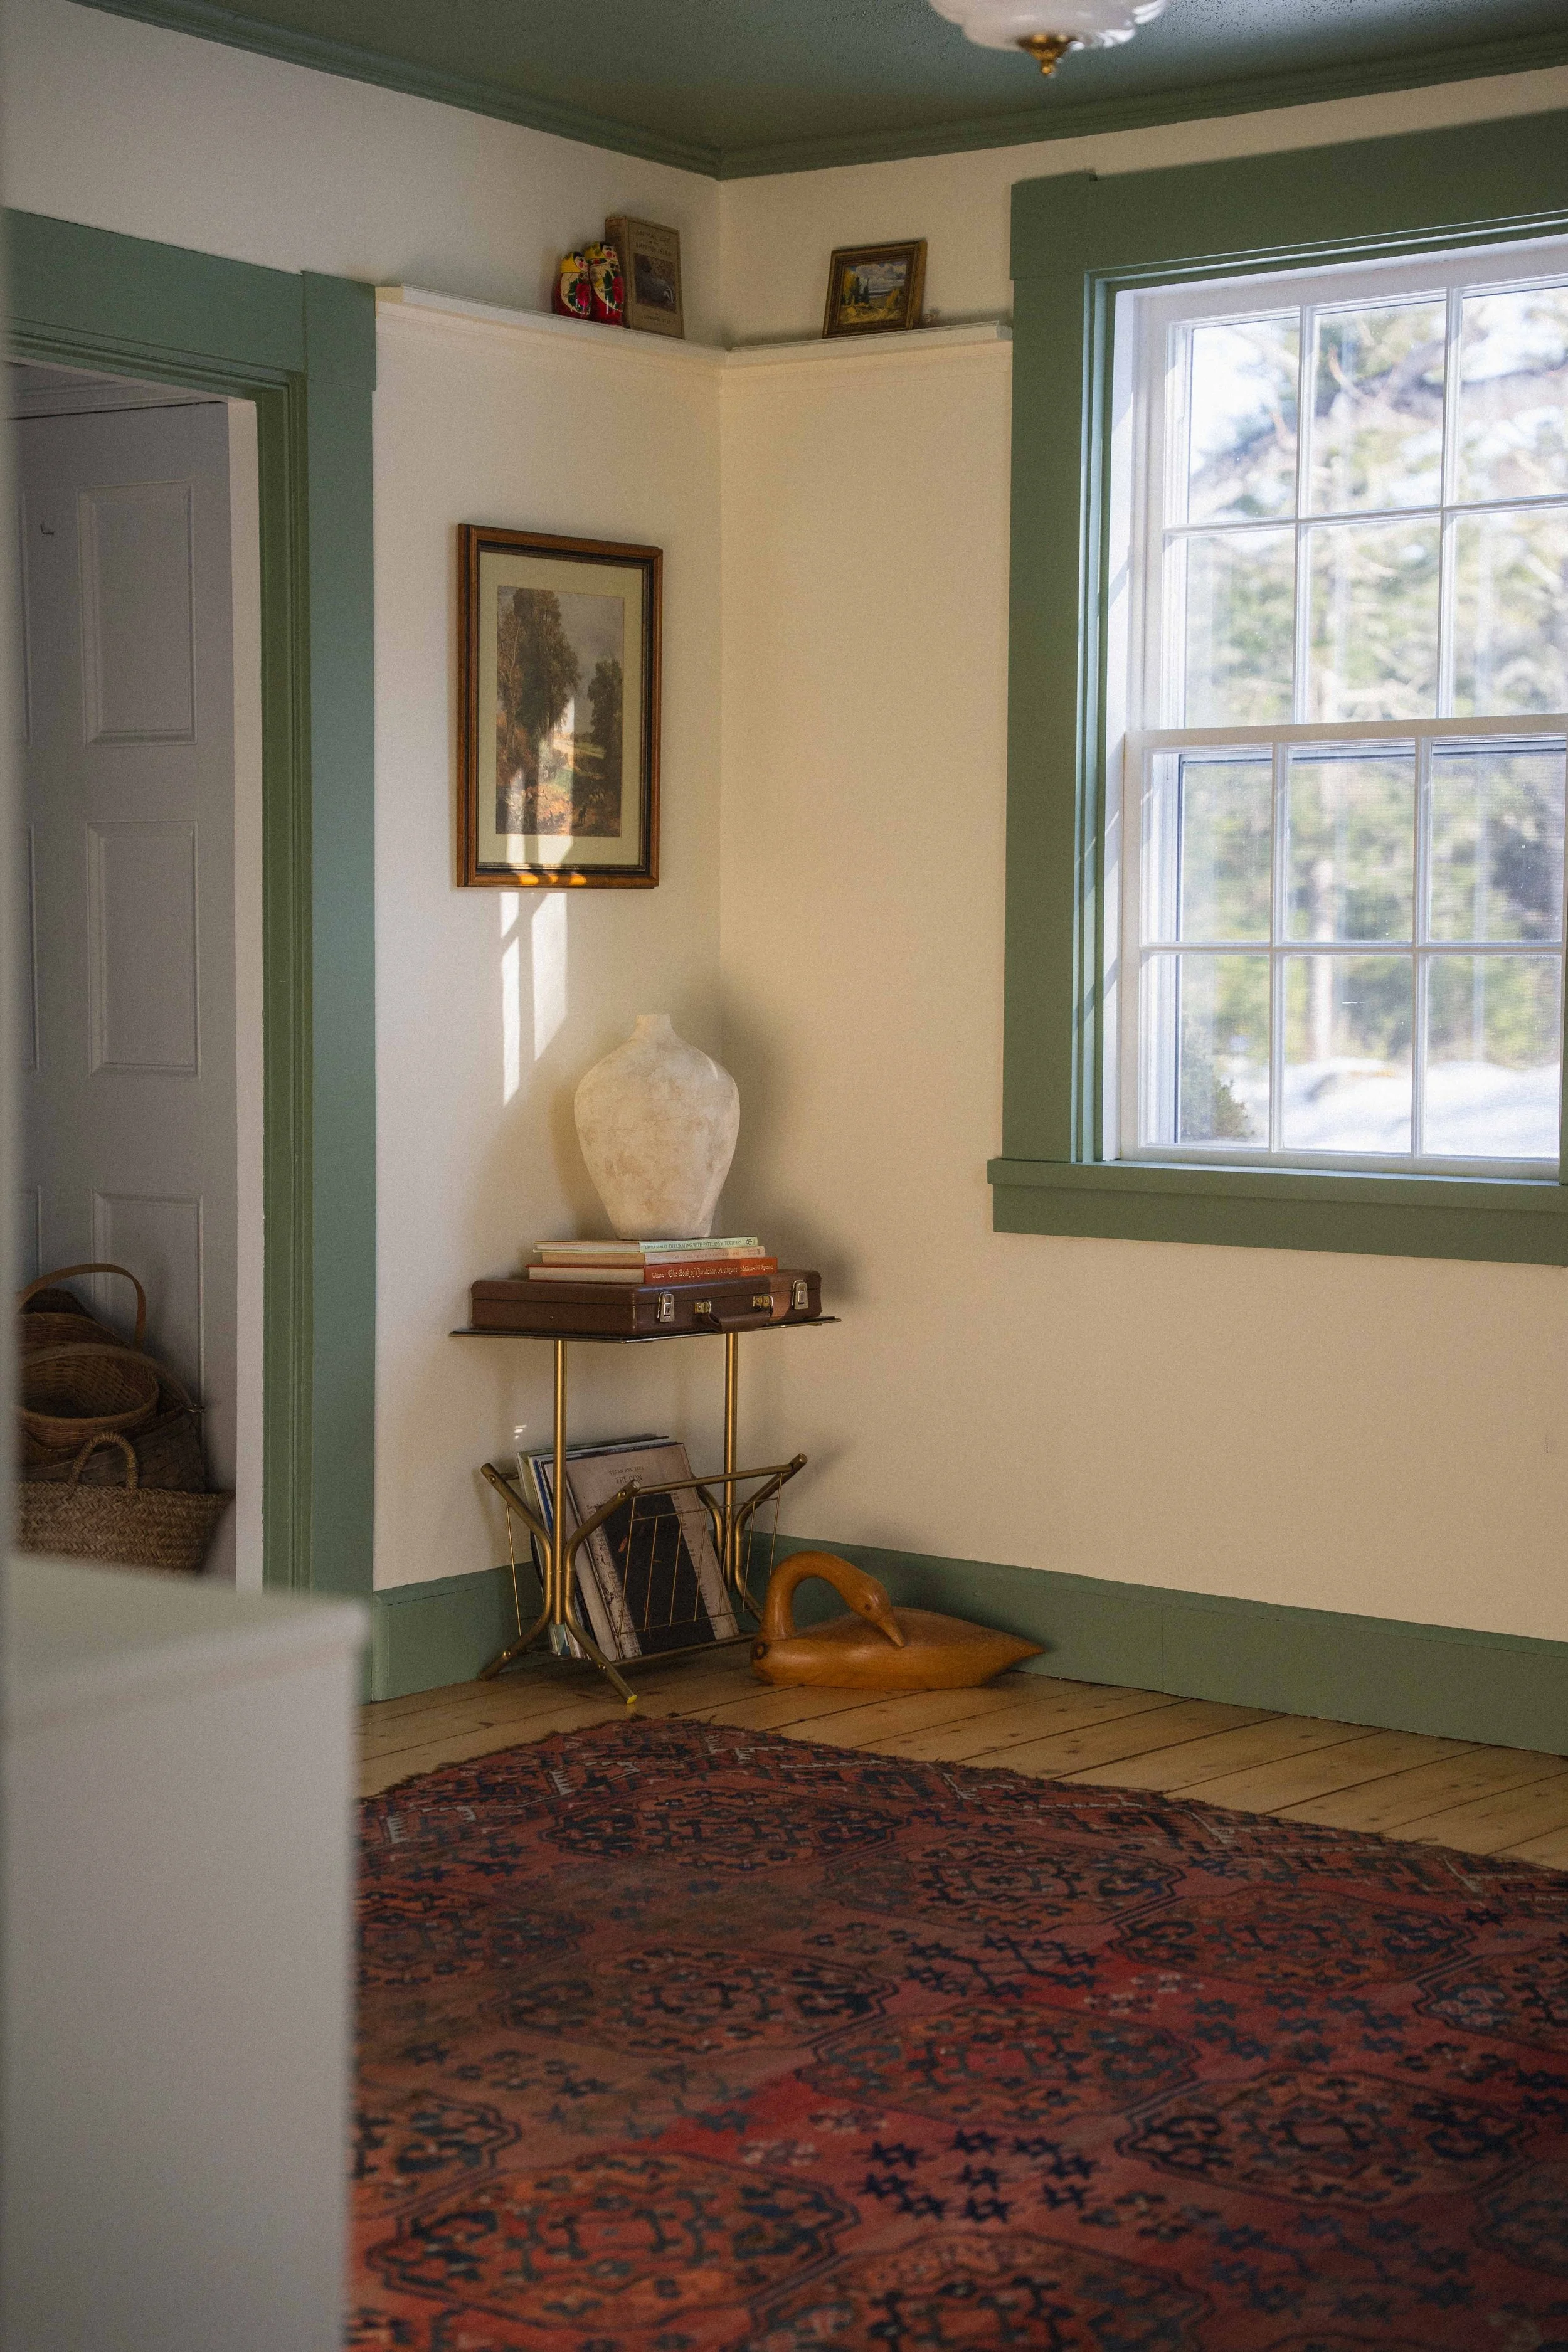
One detail that stood out to me is darker painted trim, which became a key inspiration for this room and will likely be a theme continued throughout the house. Historic homes already have strong architectural details, and leaning into them rather than trying to cover them up feels like the most respectful approach. Because of this, we leaned also into historic colour palettes.
Decorating an Old Home Without a Renovation Budget
One of the biggest constraints was our lack of budget.
Aside from paint and a light fixture, almost everything in the room came from places like:
Facebook Marketplace
antique shops
thrift stores
but most were pieces we brought with us from Calgary
When you decorate slowly, rooms feel much more personal. Gathering pieces over time makes you realize how better a space feels when it’s collected rather than installed.
A few pieces in the room carry their own story:
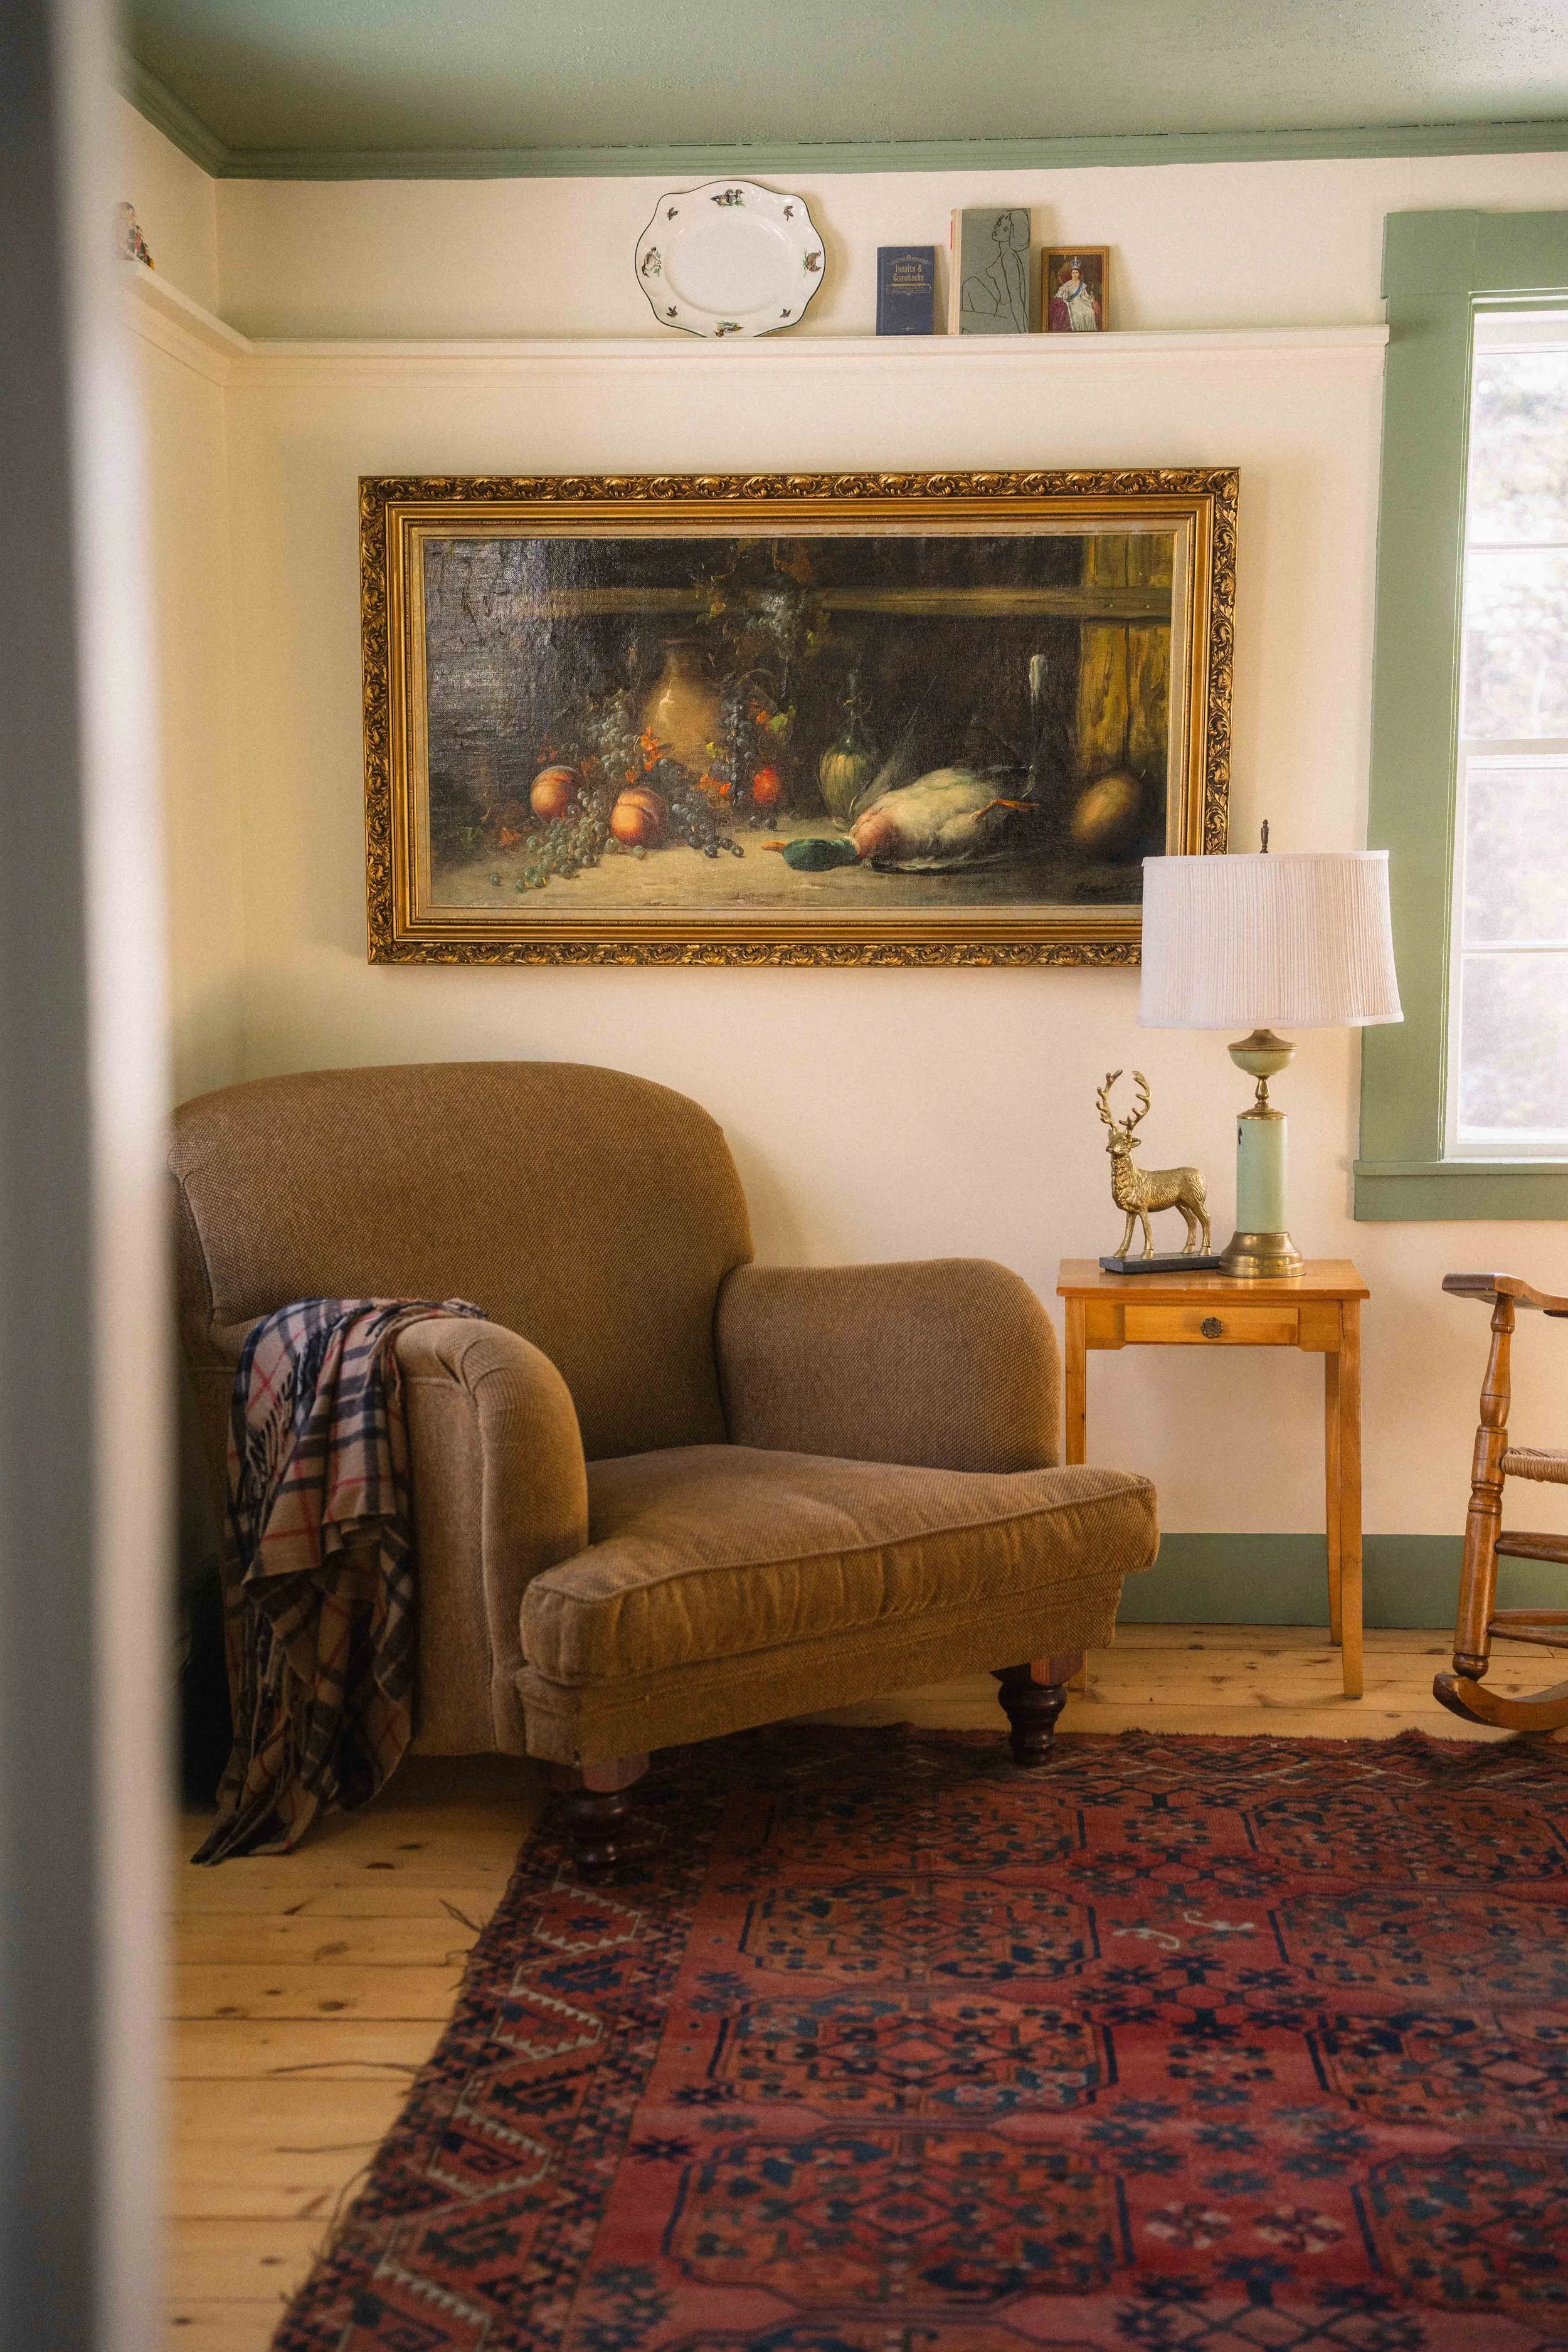
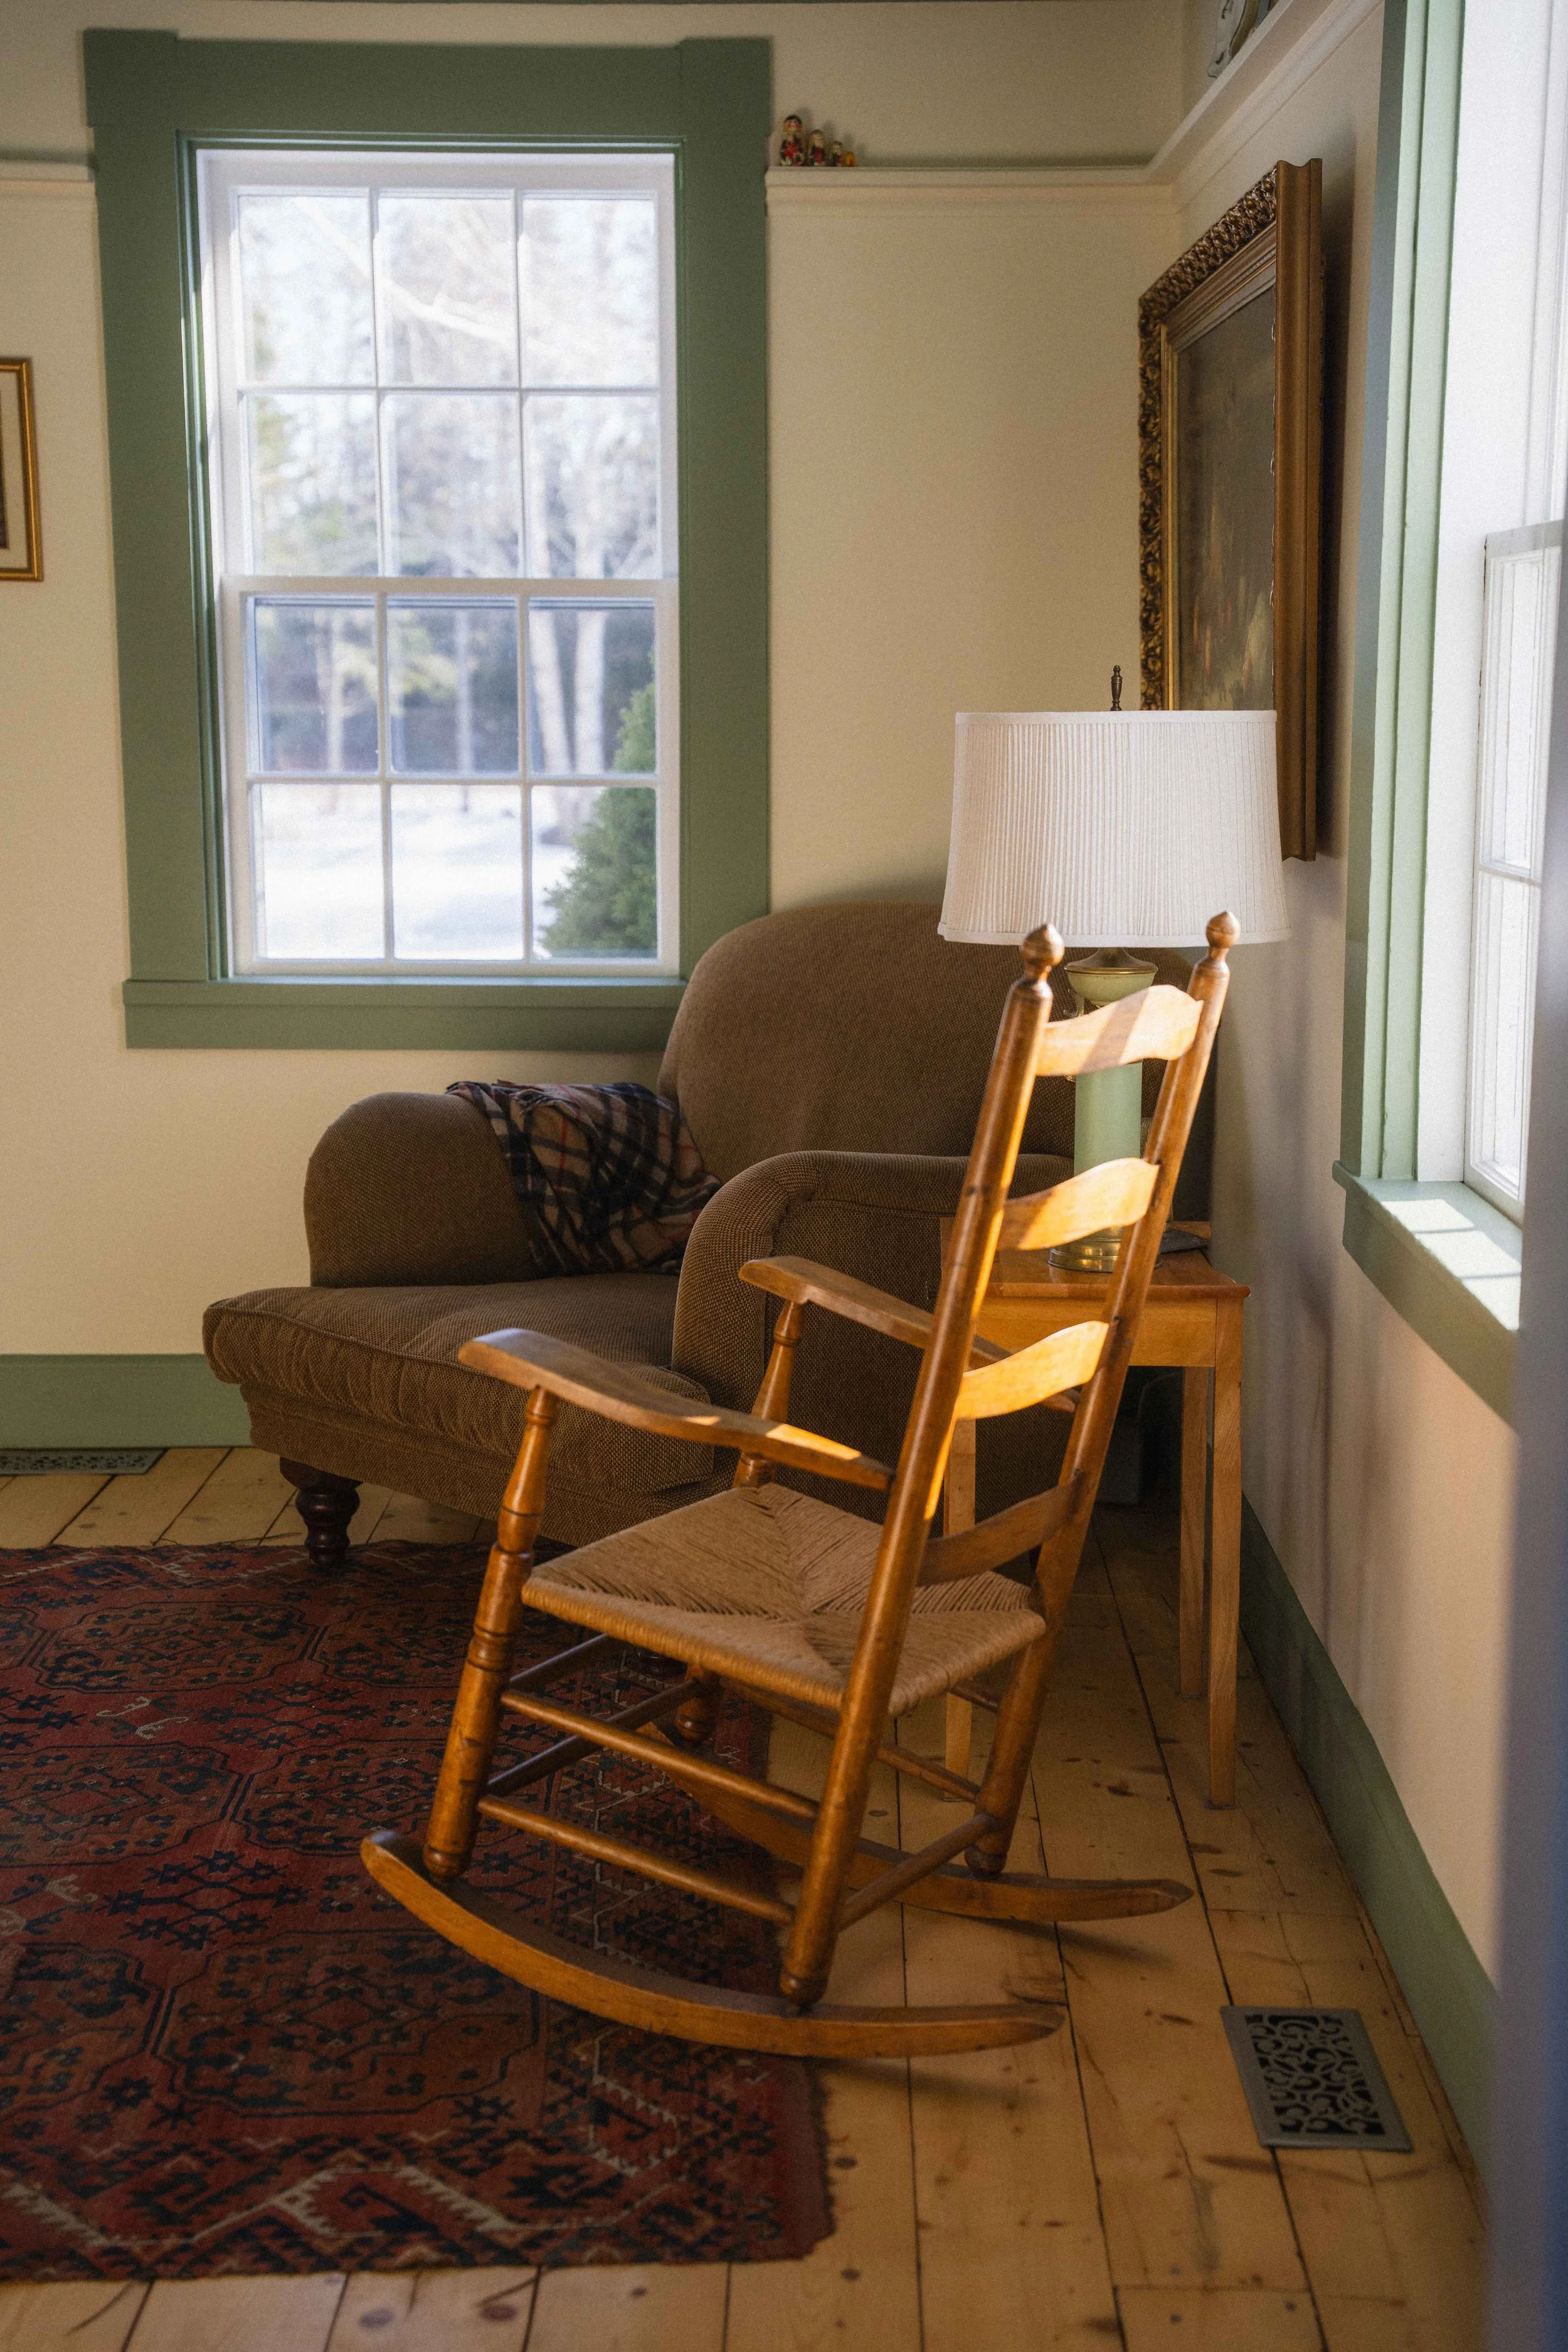
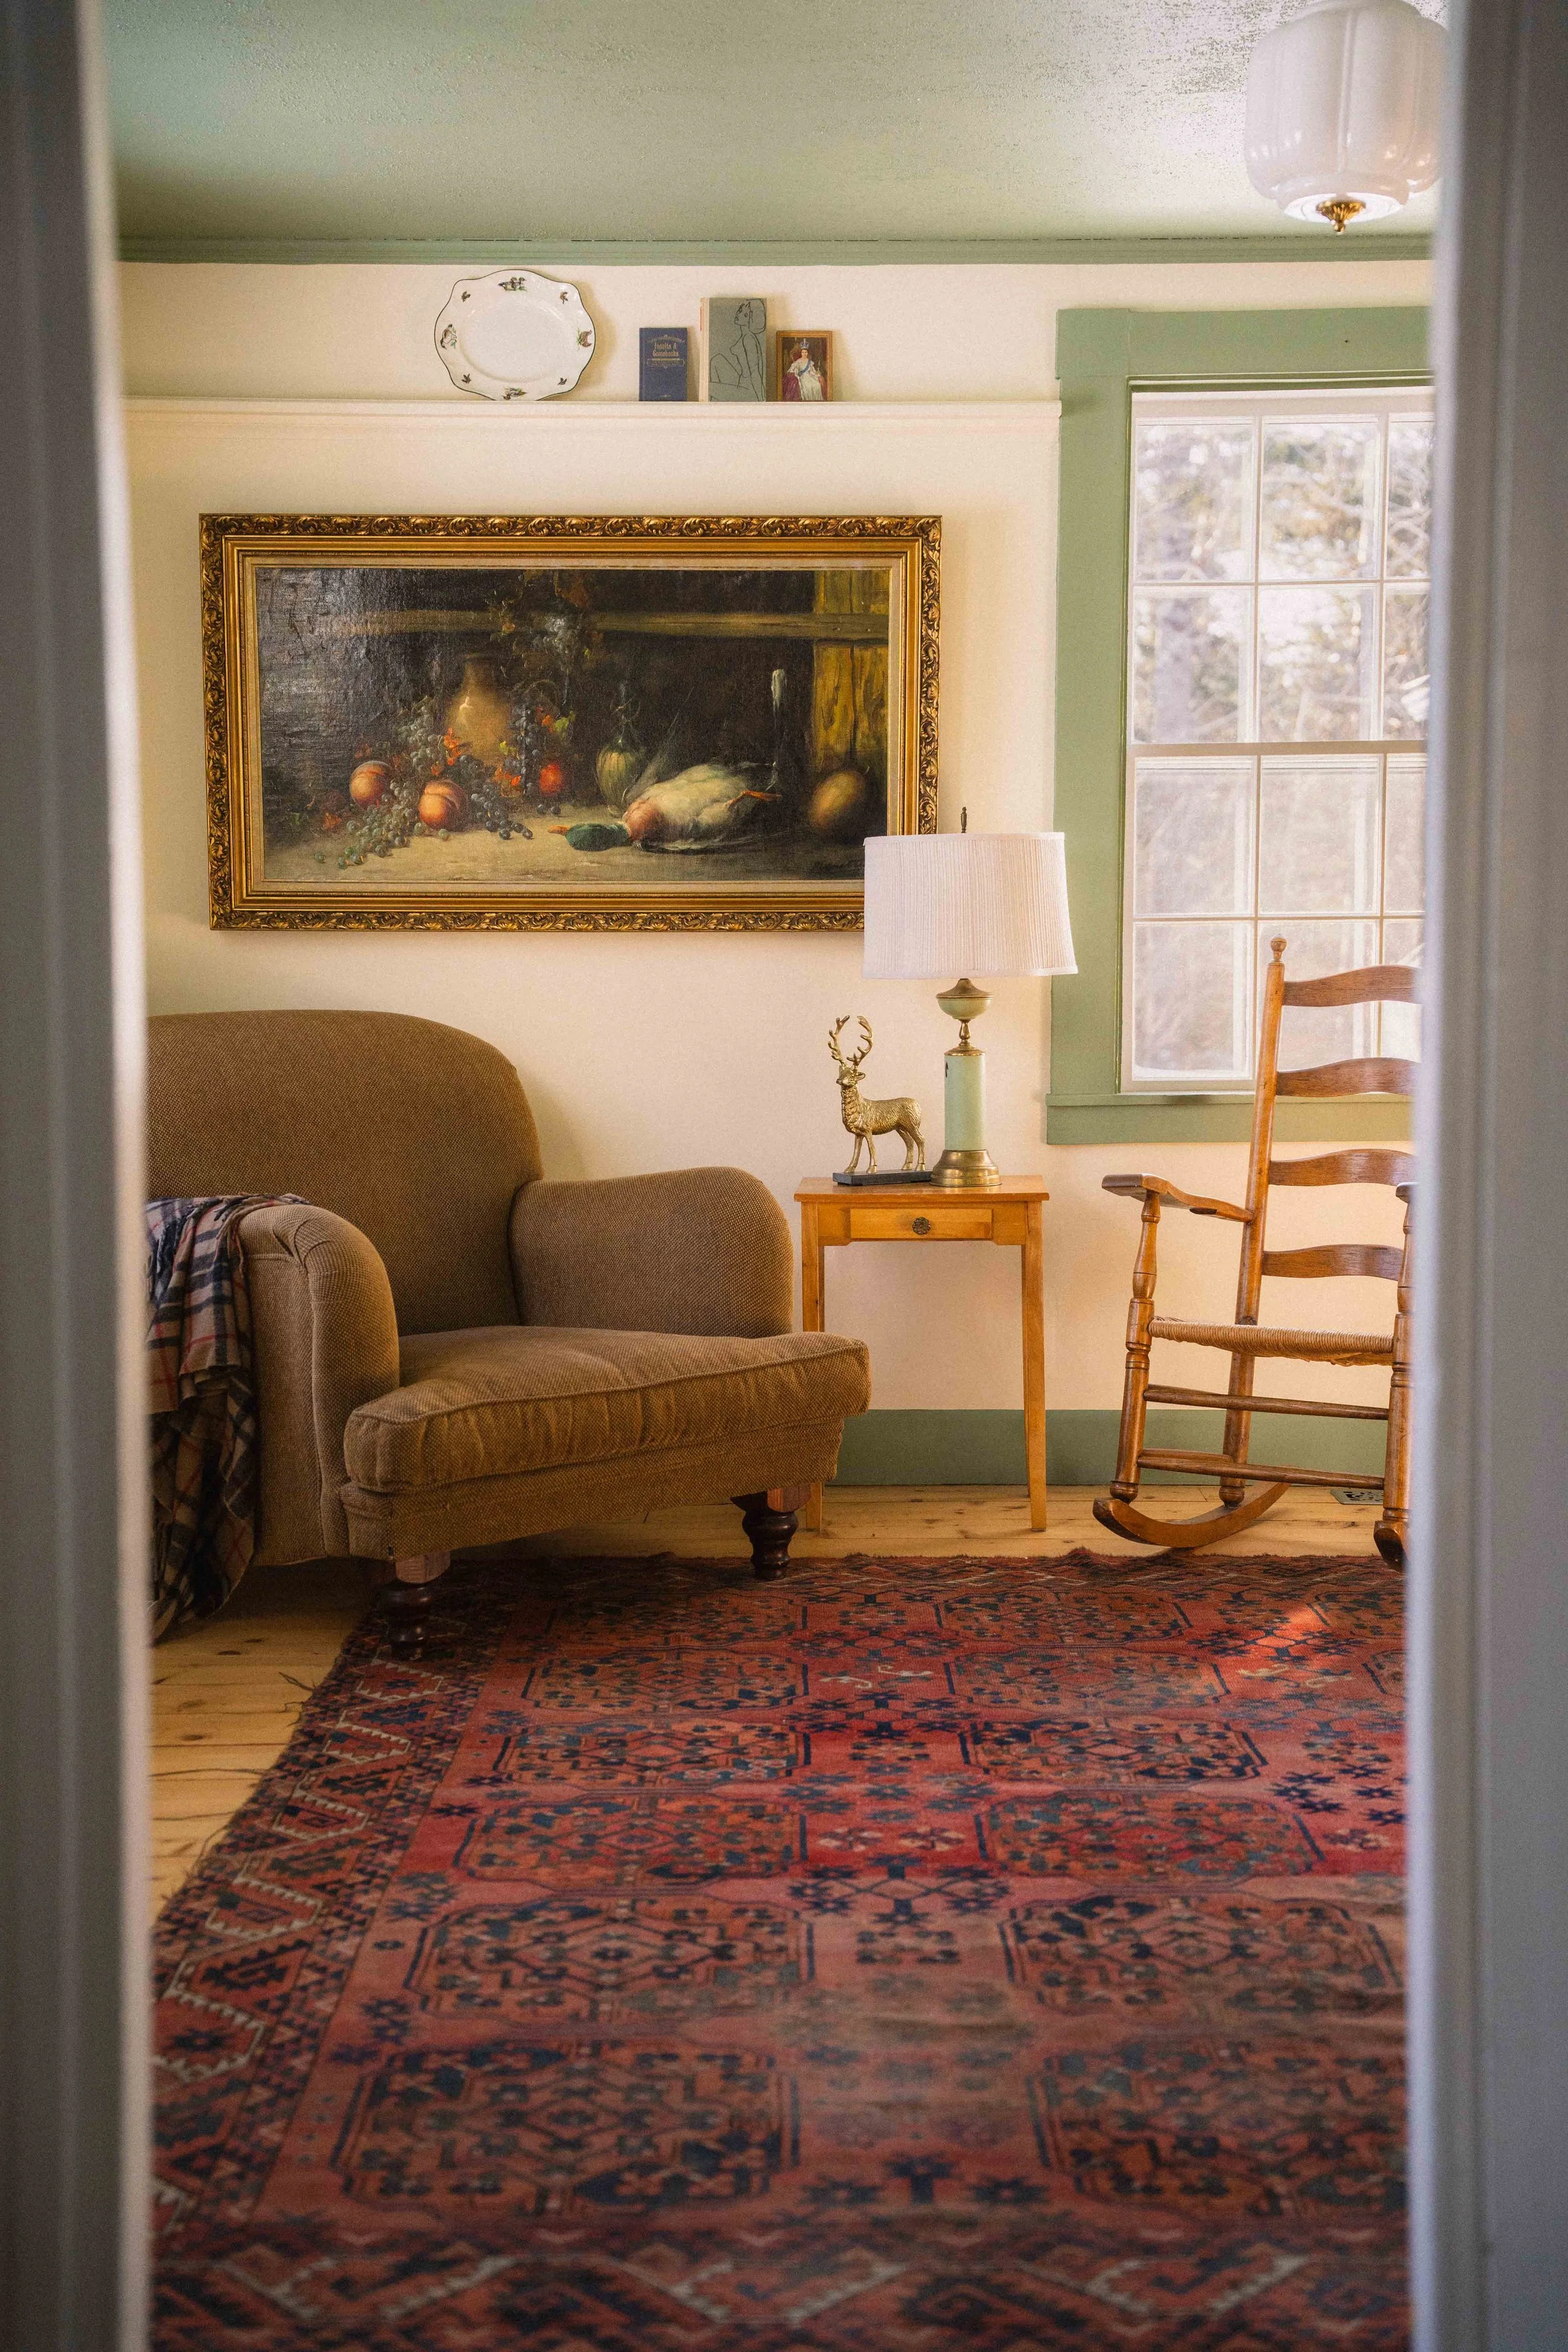
The rug was a $400 Facebook Marketplace find from the most interesting older couple. They lived in a glass house and their design work had been featured in many magazines - they are true artists in my mind and I feel grateful to have heard parts of their story.
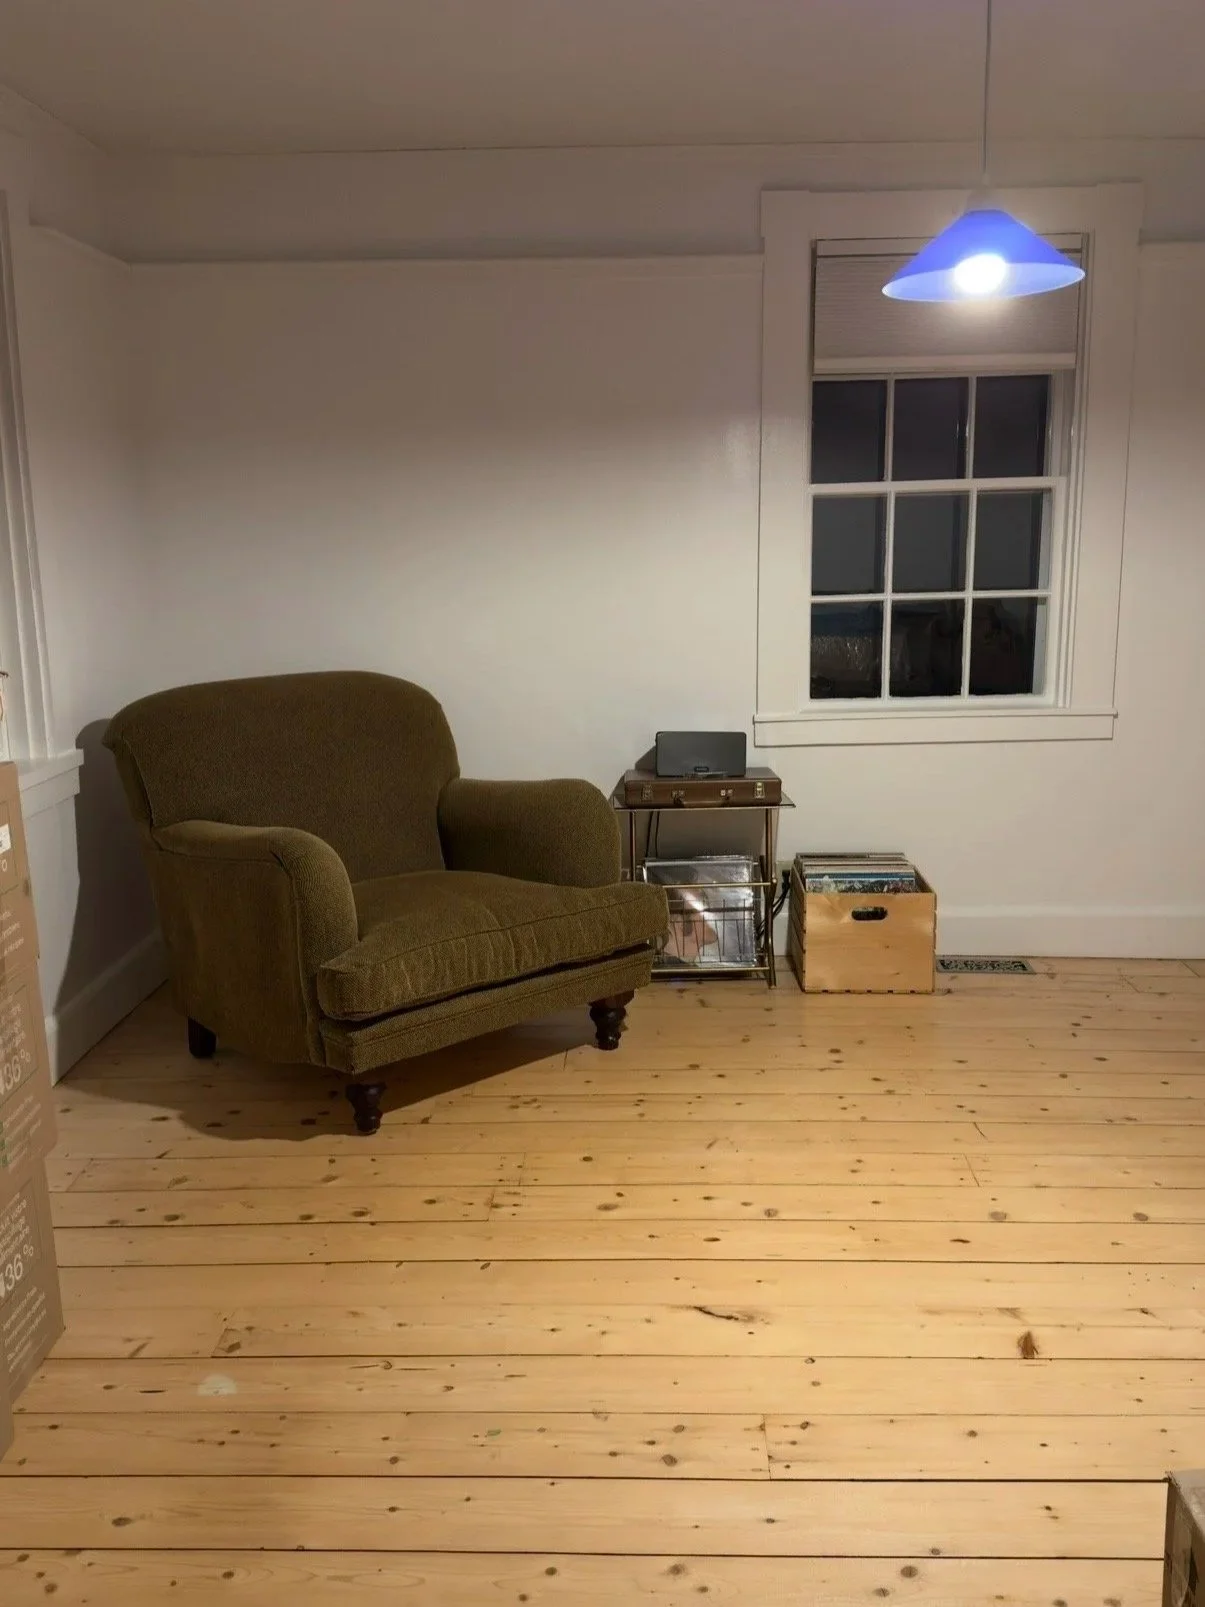
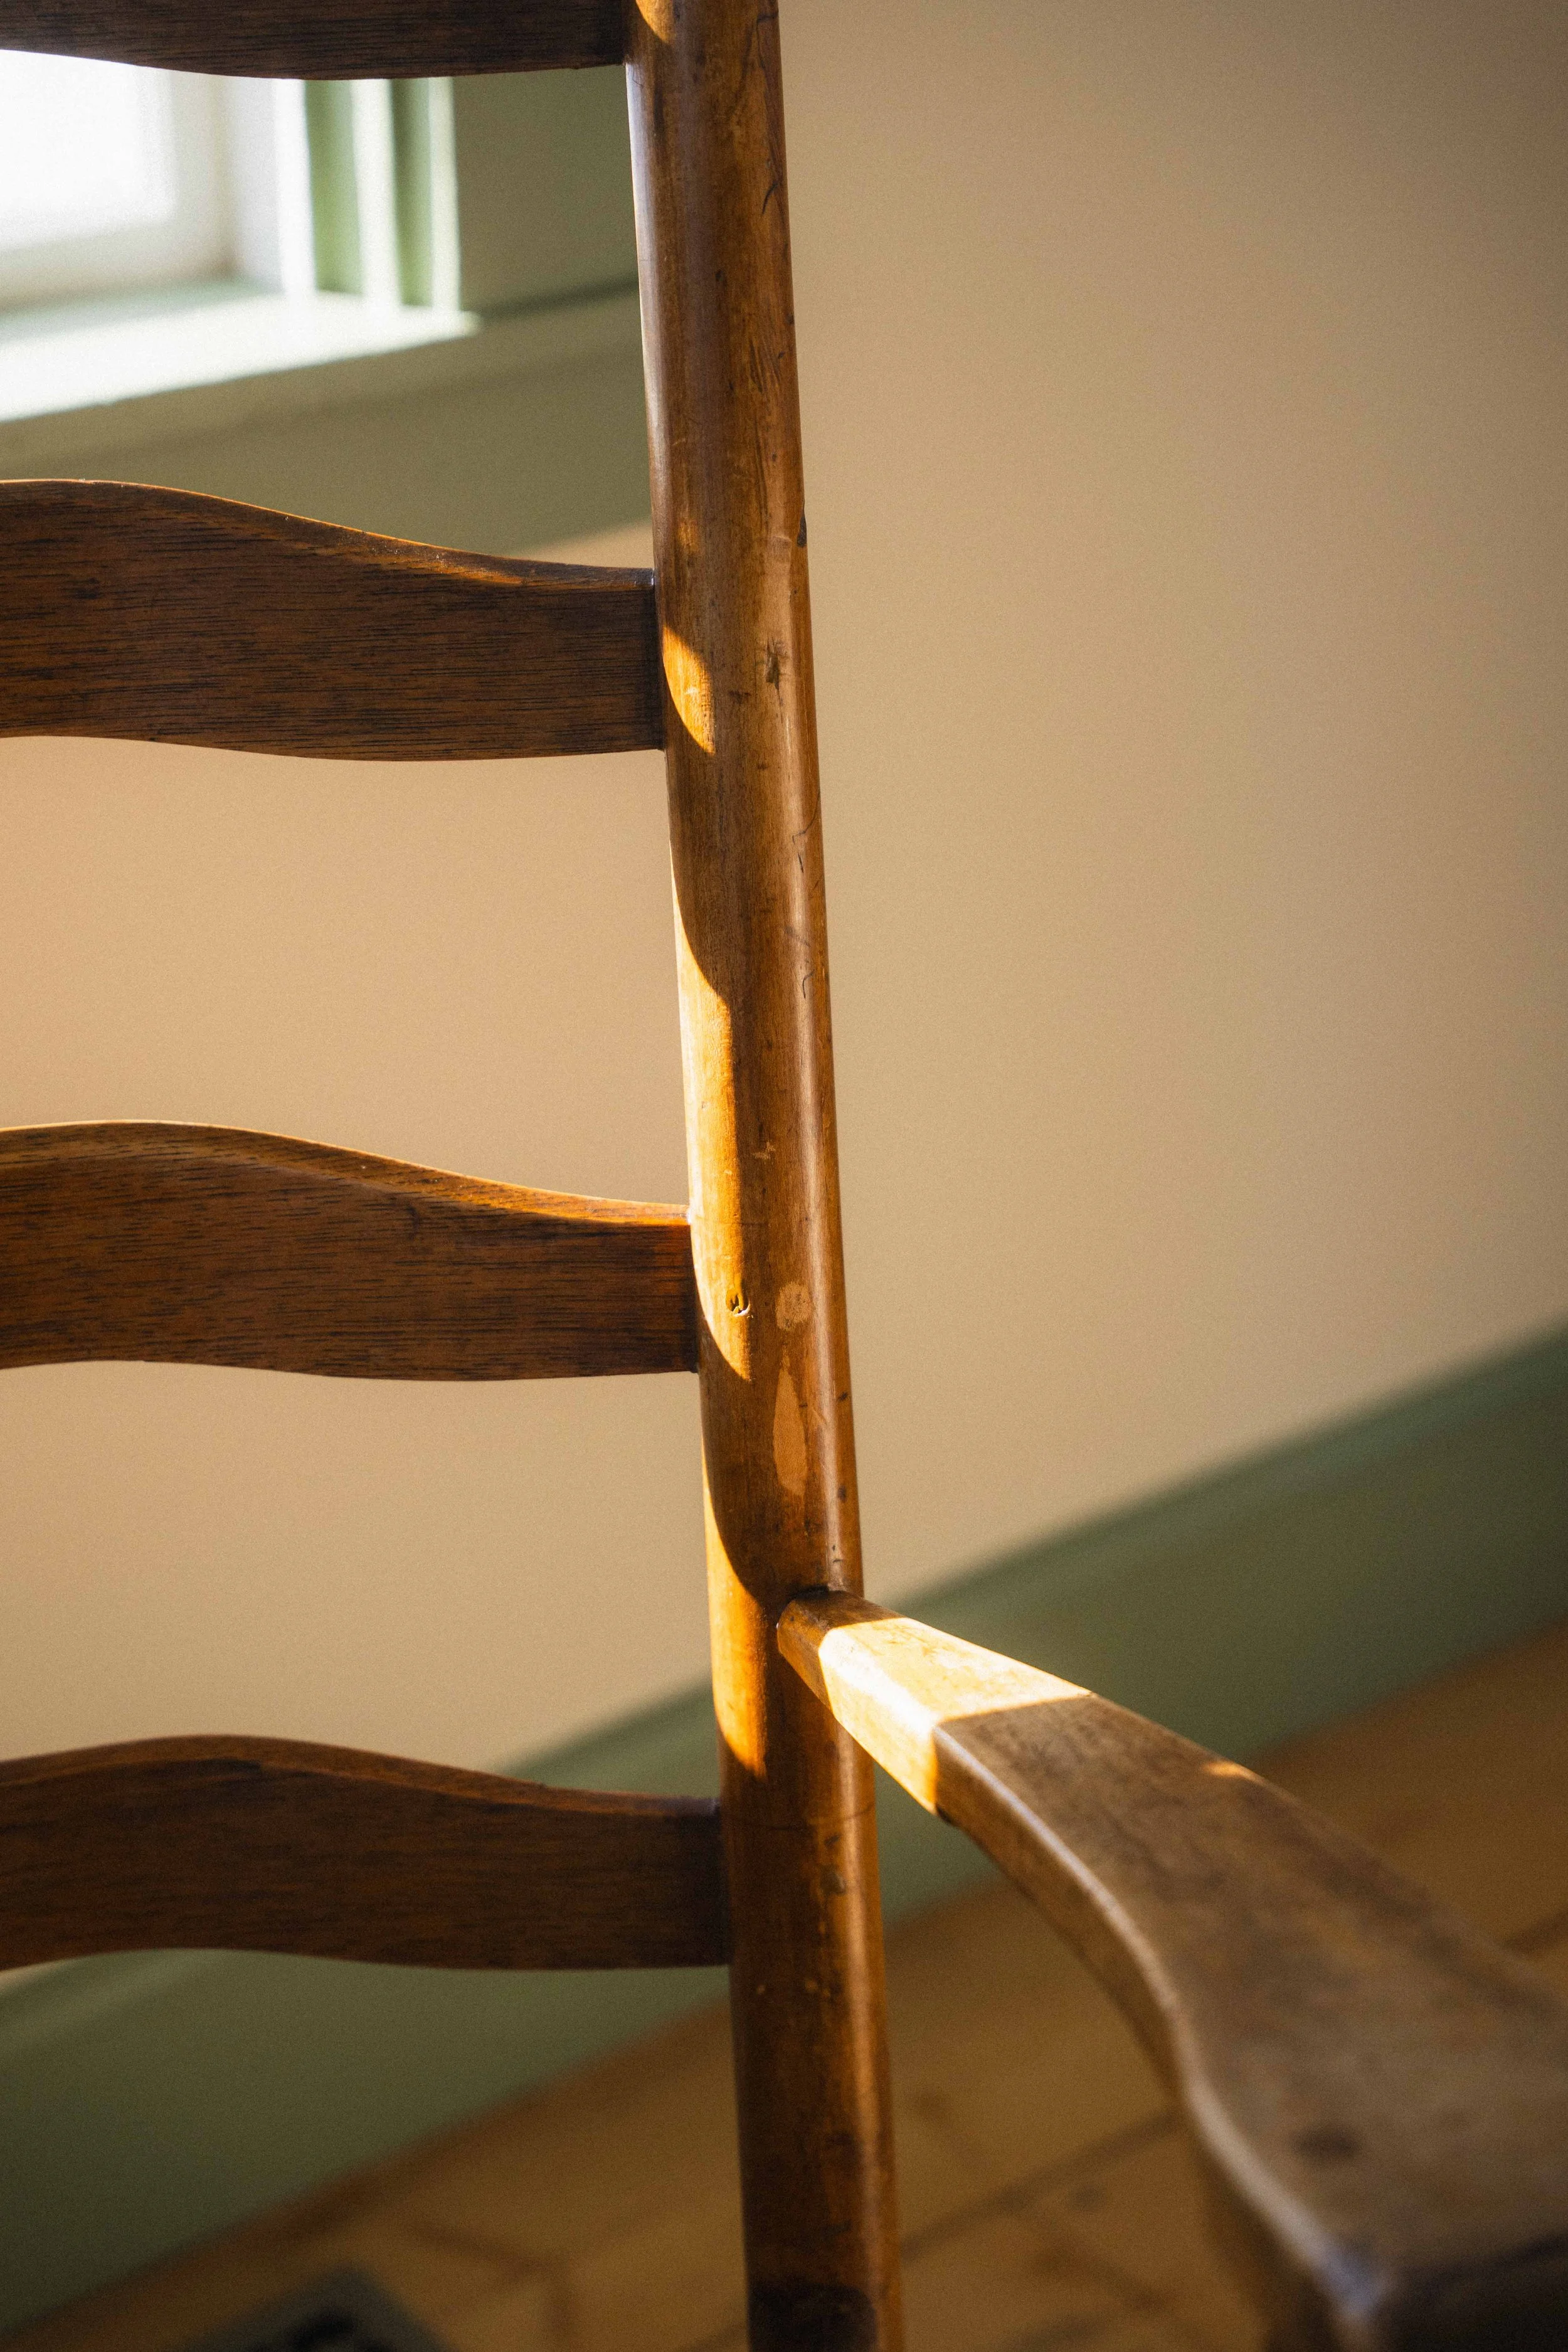
The rocking chair was used on the set of Legends of the Fall with Brad Pitt and travelled with us from Calgary.
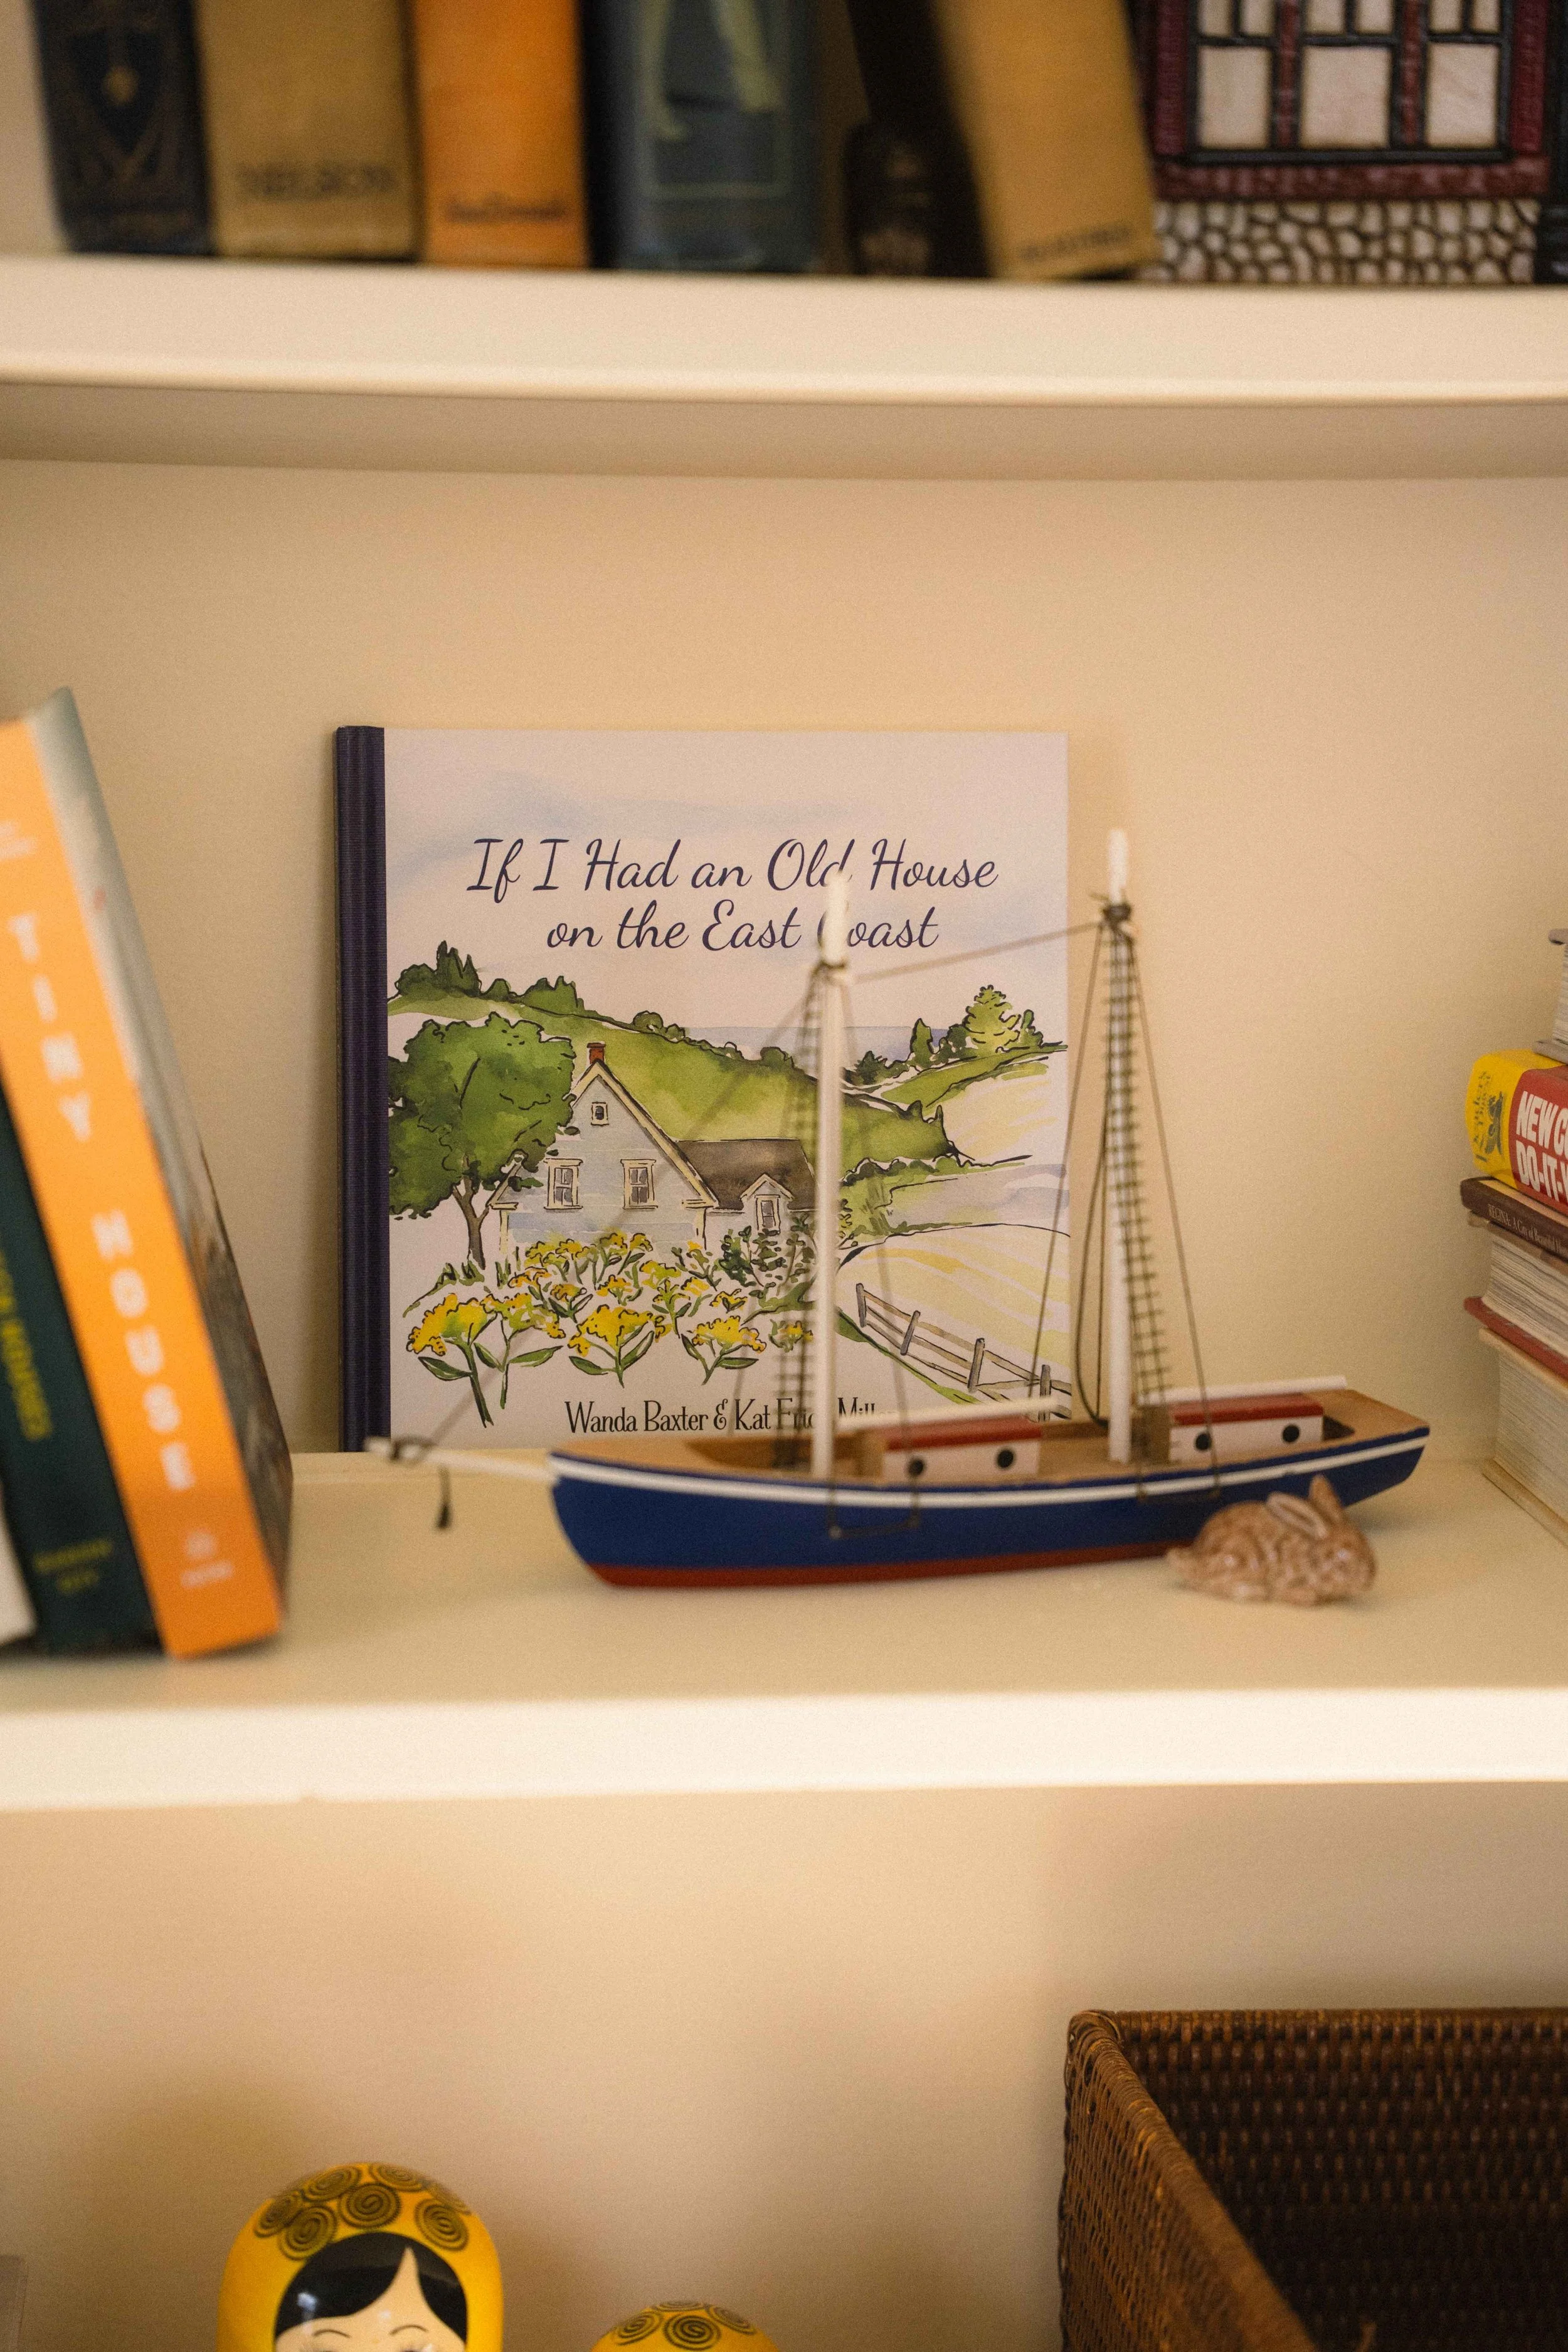
The little vintage photos of the Evangeline trail that we picked up on our first trip to Nova Scotia.
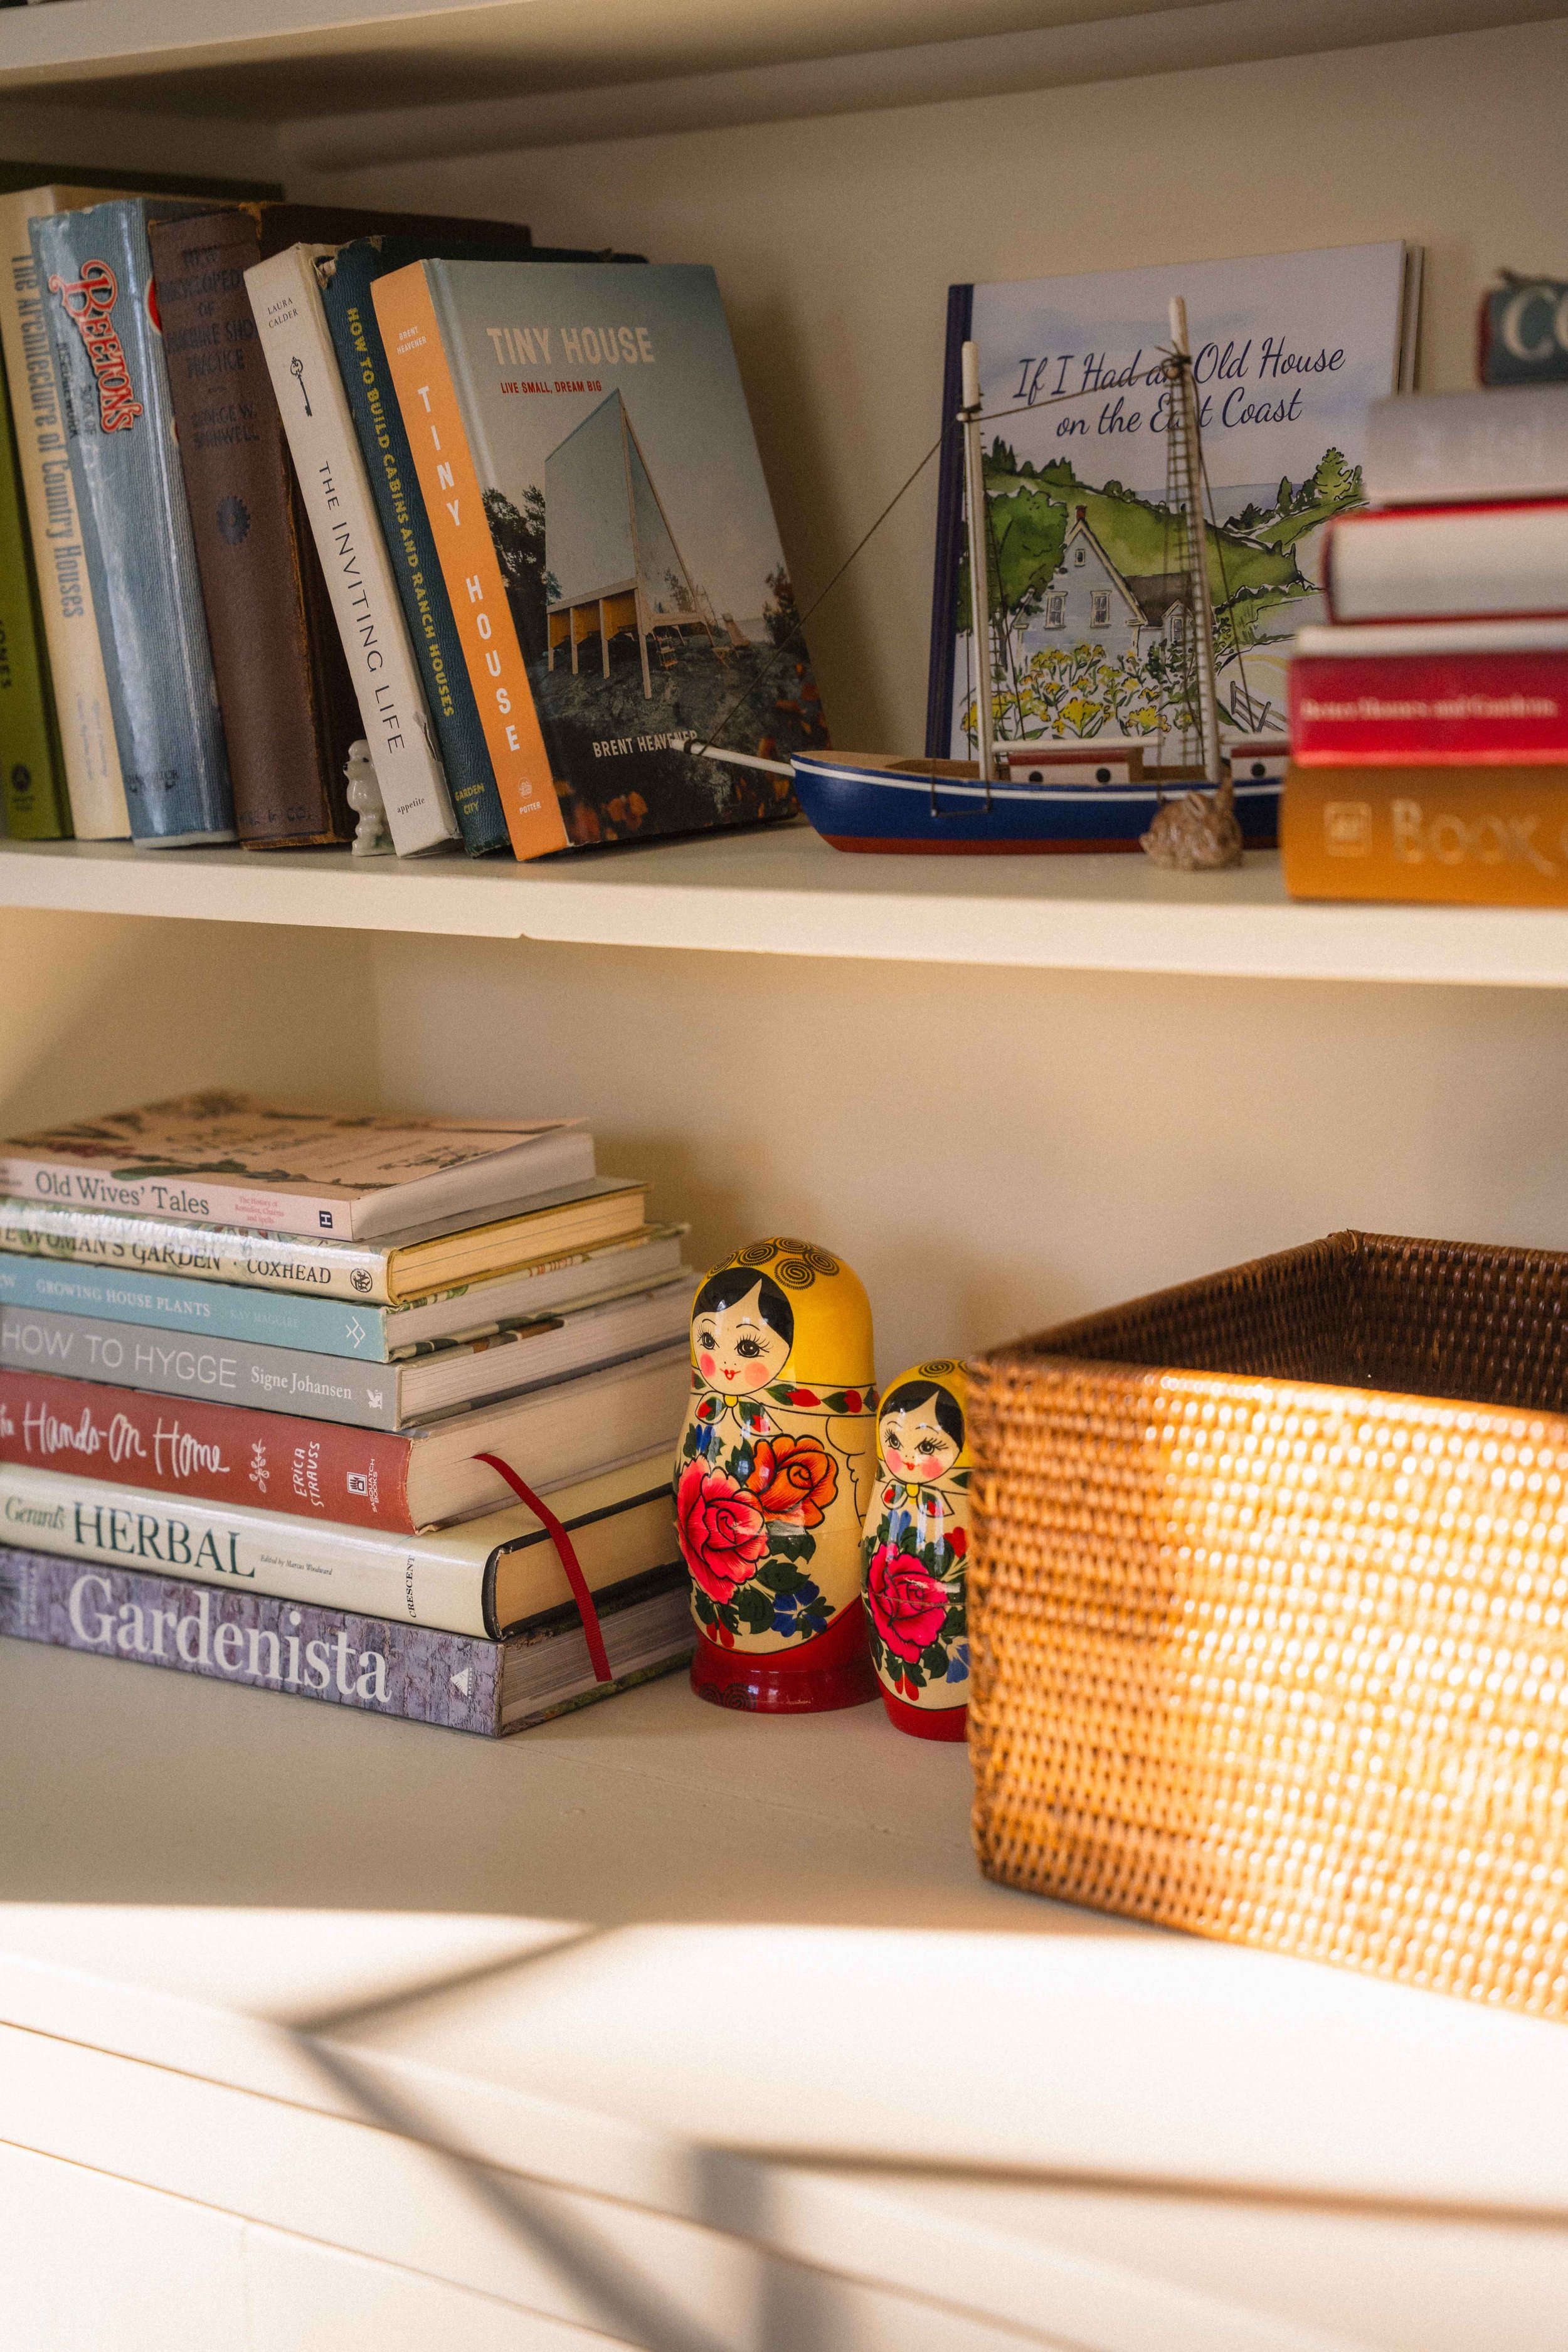
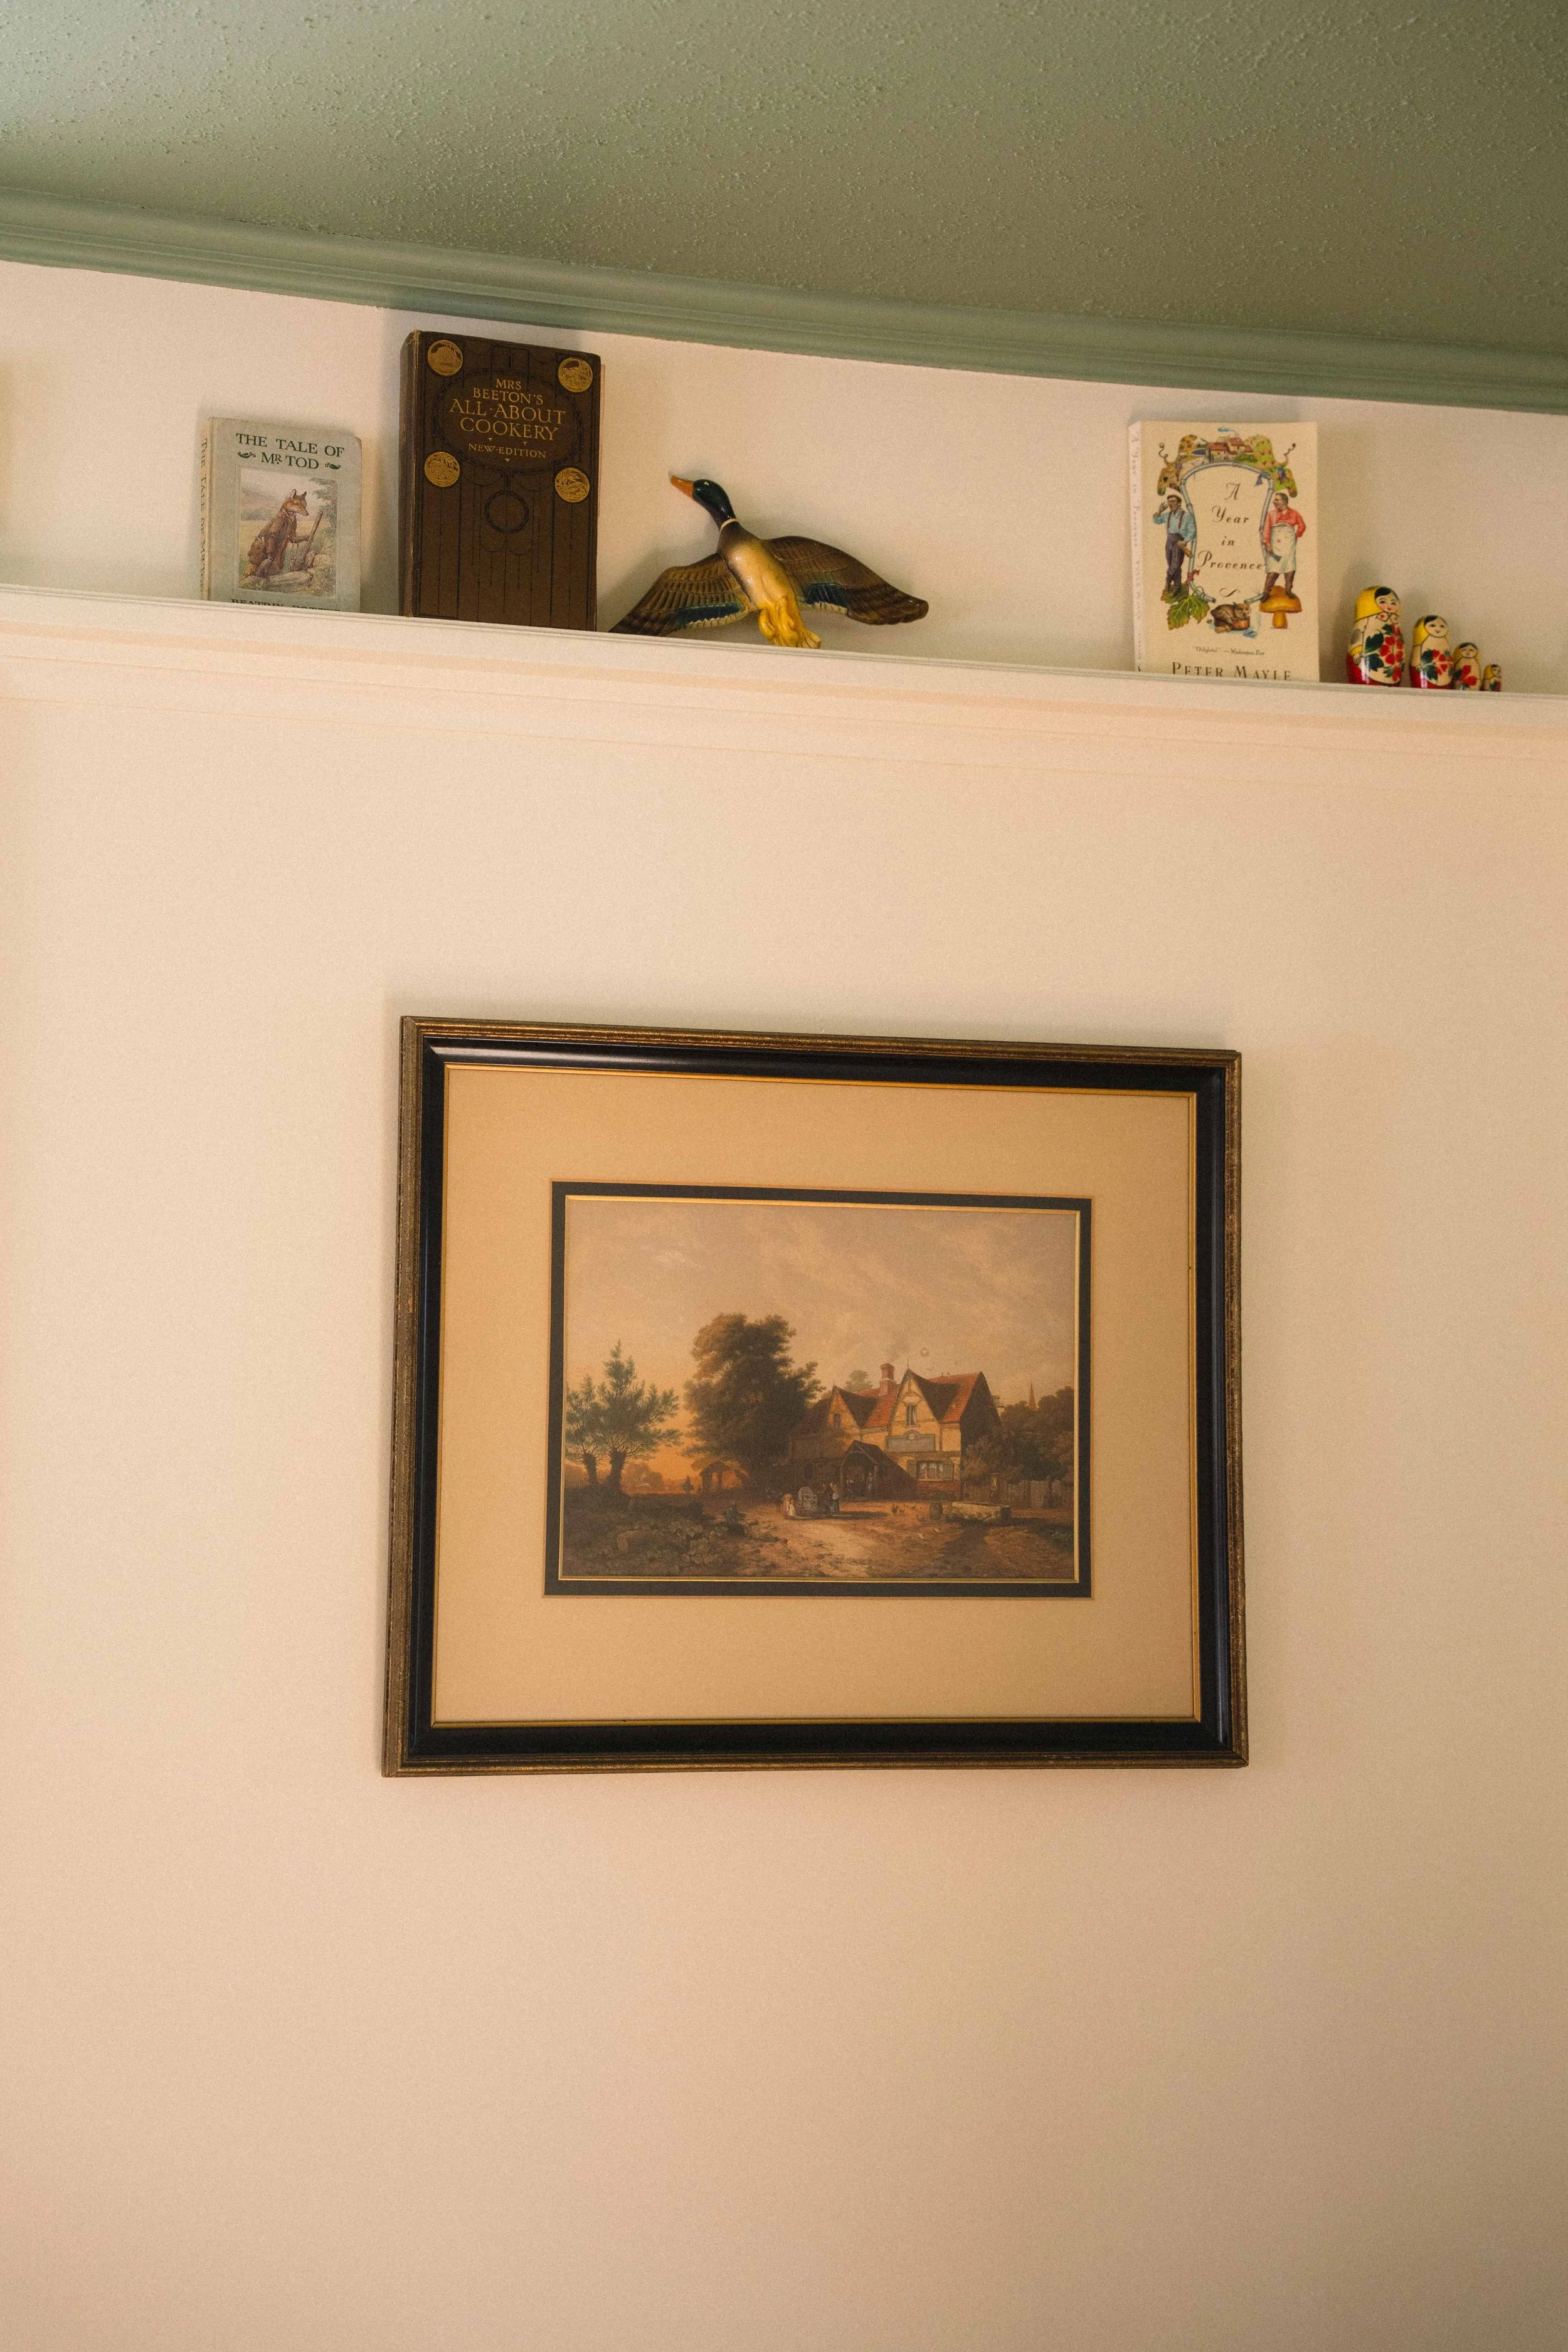
All of the Matryoshka dolls to pay homage to my Ukrainian heritage.
The framed Delft tile I picked up during my road trip around Netherlands.
…and countless other souvenirs from our travels together.
Everything is precious, and the shelves are filled imperfectly - and that feels exactly right.
Painting a Historic House: What We Learned the Hard Way
This room also became our first lesson in painting a historic home.
Older houses simply have more things to deal with: mouldings, built-ins, corners, uneven walls, and layers of trim and old paint that all require patience.
Along the way, we learned several lessons that would have saved us a lot of time, and I’ll share them here with you so that you’ll be spared:
1. Always Start With the Ceiling
No matter how careful you are, paint splatters downward.
Starting with the ceiling first prevents the inevitable touch-ups that happen if you begin with the walls.
2. Paint the Trim Before the Walls
At first we tried to carefully cut perfect lines along the trim AND on the walls.
That doubled our work.
It’s much faster to paint the trim first and allow it to overlap onto the wall slightly, then cut in neatly when you paint the walls afterwards. We did this with our next room (stay tuned) and it was so much easier.
3. Painter’s Tape Isn’t Always Your Friend
I know painter’s tape works beautifully in many modern homes.
But in a historic house with uneven surfaces and old millwork, it caused constant bleeding and jagged lines.
Eventually I abandoned the tape completely and began free-handing the edges with a brush, which was not only faster but strangely meditative.
4. Historic Trim Takes Time
Older homes often have extensive millwork: built-ins, mouldings, shelving, and decorative trim.
Every surface needs attention.
What we thought would be a quick weekend project became a week of evenings plus a full weekend.
5. Seal High-Traffic Surfaces
One mistake we made was not applying a durable top coat to the built-in shelves.
They’re already showing scuffs — which is part of life, but could easily have been prevented.
If you’re painting shelves or cabinetry in an old home, a protective finish is worth considering.
The One Update We Didn’t Expect: Replacing the Light Fixture
Originally, our goal for this room was a paint-only update.
Although we didn’t love the existing fixture, the light I wanted was in the $1500 range. Definitely not in the budget and I thought I could wait.
The existing light fixture, however, hung extremely low — low enough that my husband (who is over six feet tall) kept hitting his head on it. For our first few months we actually stacked boxes underneath as a warning system.
And after seeing the light fixture next to our new paint job… aesthetics and practicality won. I began my search for something that wouldn’t break our bank and still suited the home’s character, and we eventually found a schoolhouse-style milk glass semi-flush fixture for just over $100. Personally, I feel like this light is a better fit for a hallway, but we have low clearance and I am very anti-flush mount.
Is it a forever light? Probably not.
I would like to repurpose it one day if I can.
But for now, it’s simple, classic, and no longer a concussion risk — which felt like a perfectly acceptable compromise.


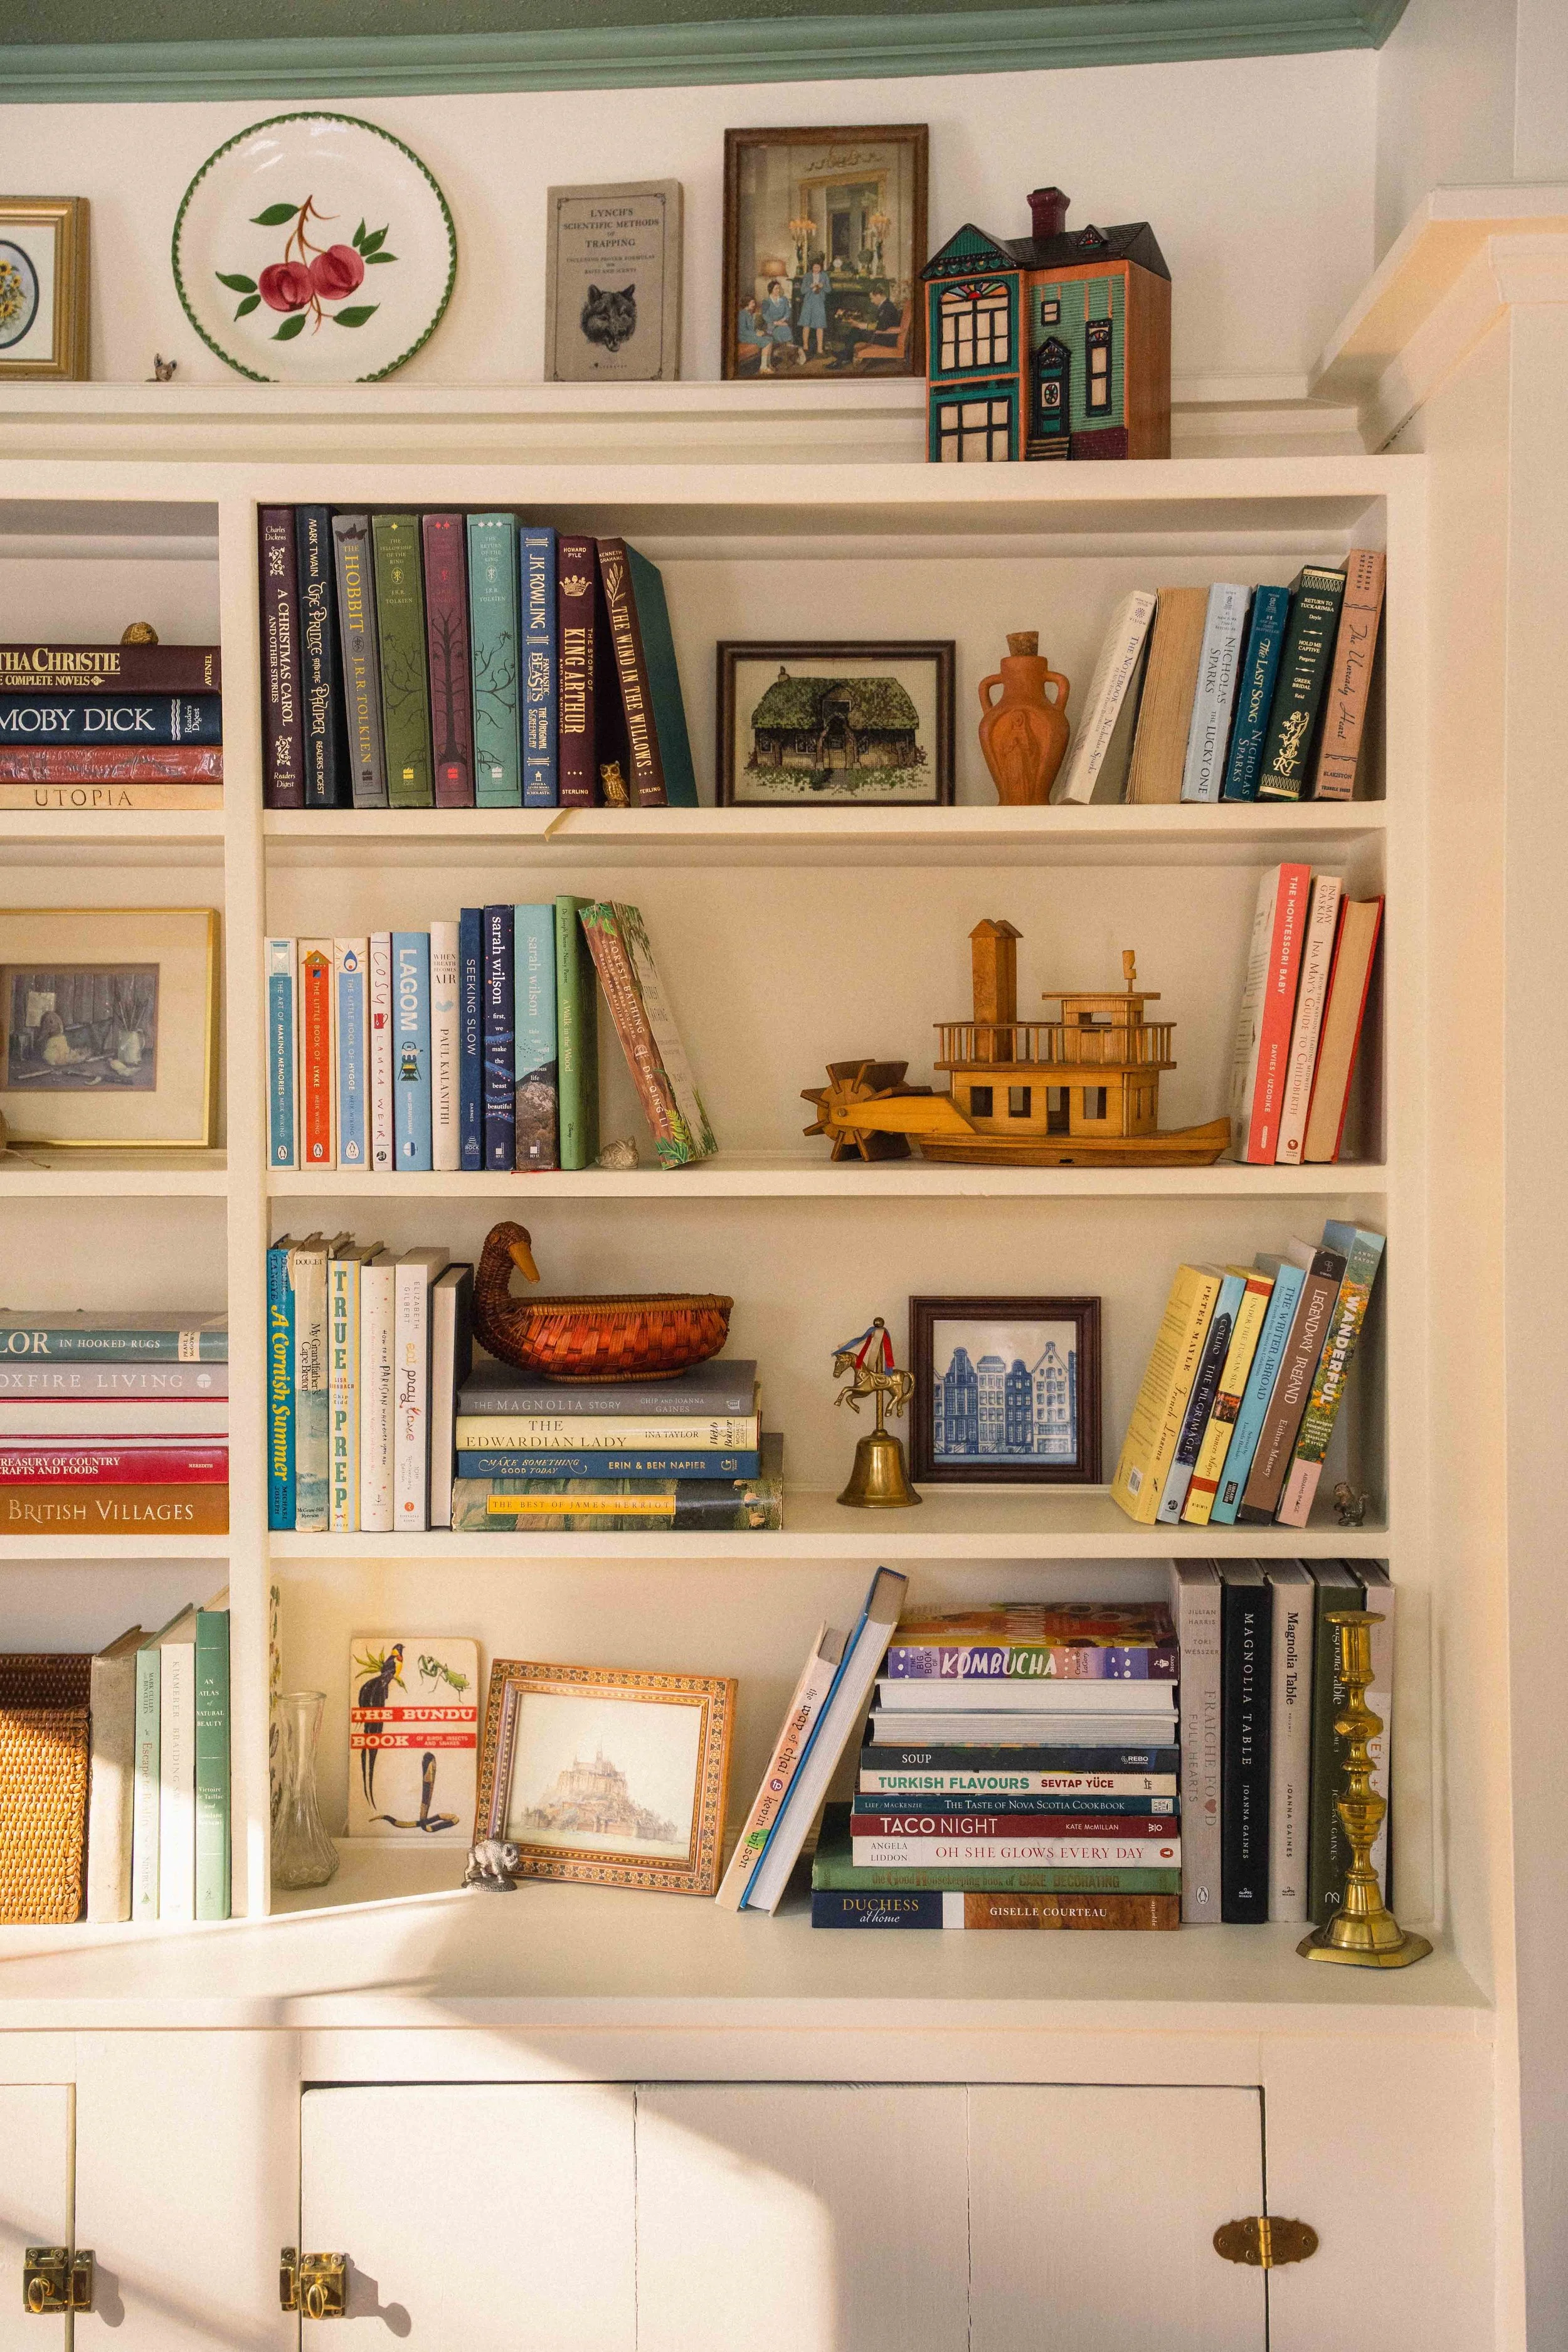
Styling Bookshelves That Feel Collected, Not Staged
Once the painting was finished, the next step was filling the shelves.
I’ve been an avid reader my entire life, so the books themselves were never going to look like a perfectly colour-coordinated magazine spread.
But as a photographer, I still wanted the shelves to feel intentional rather than chaotic.
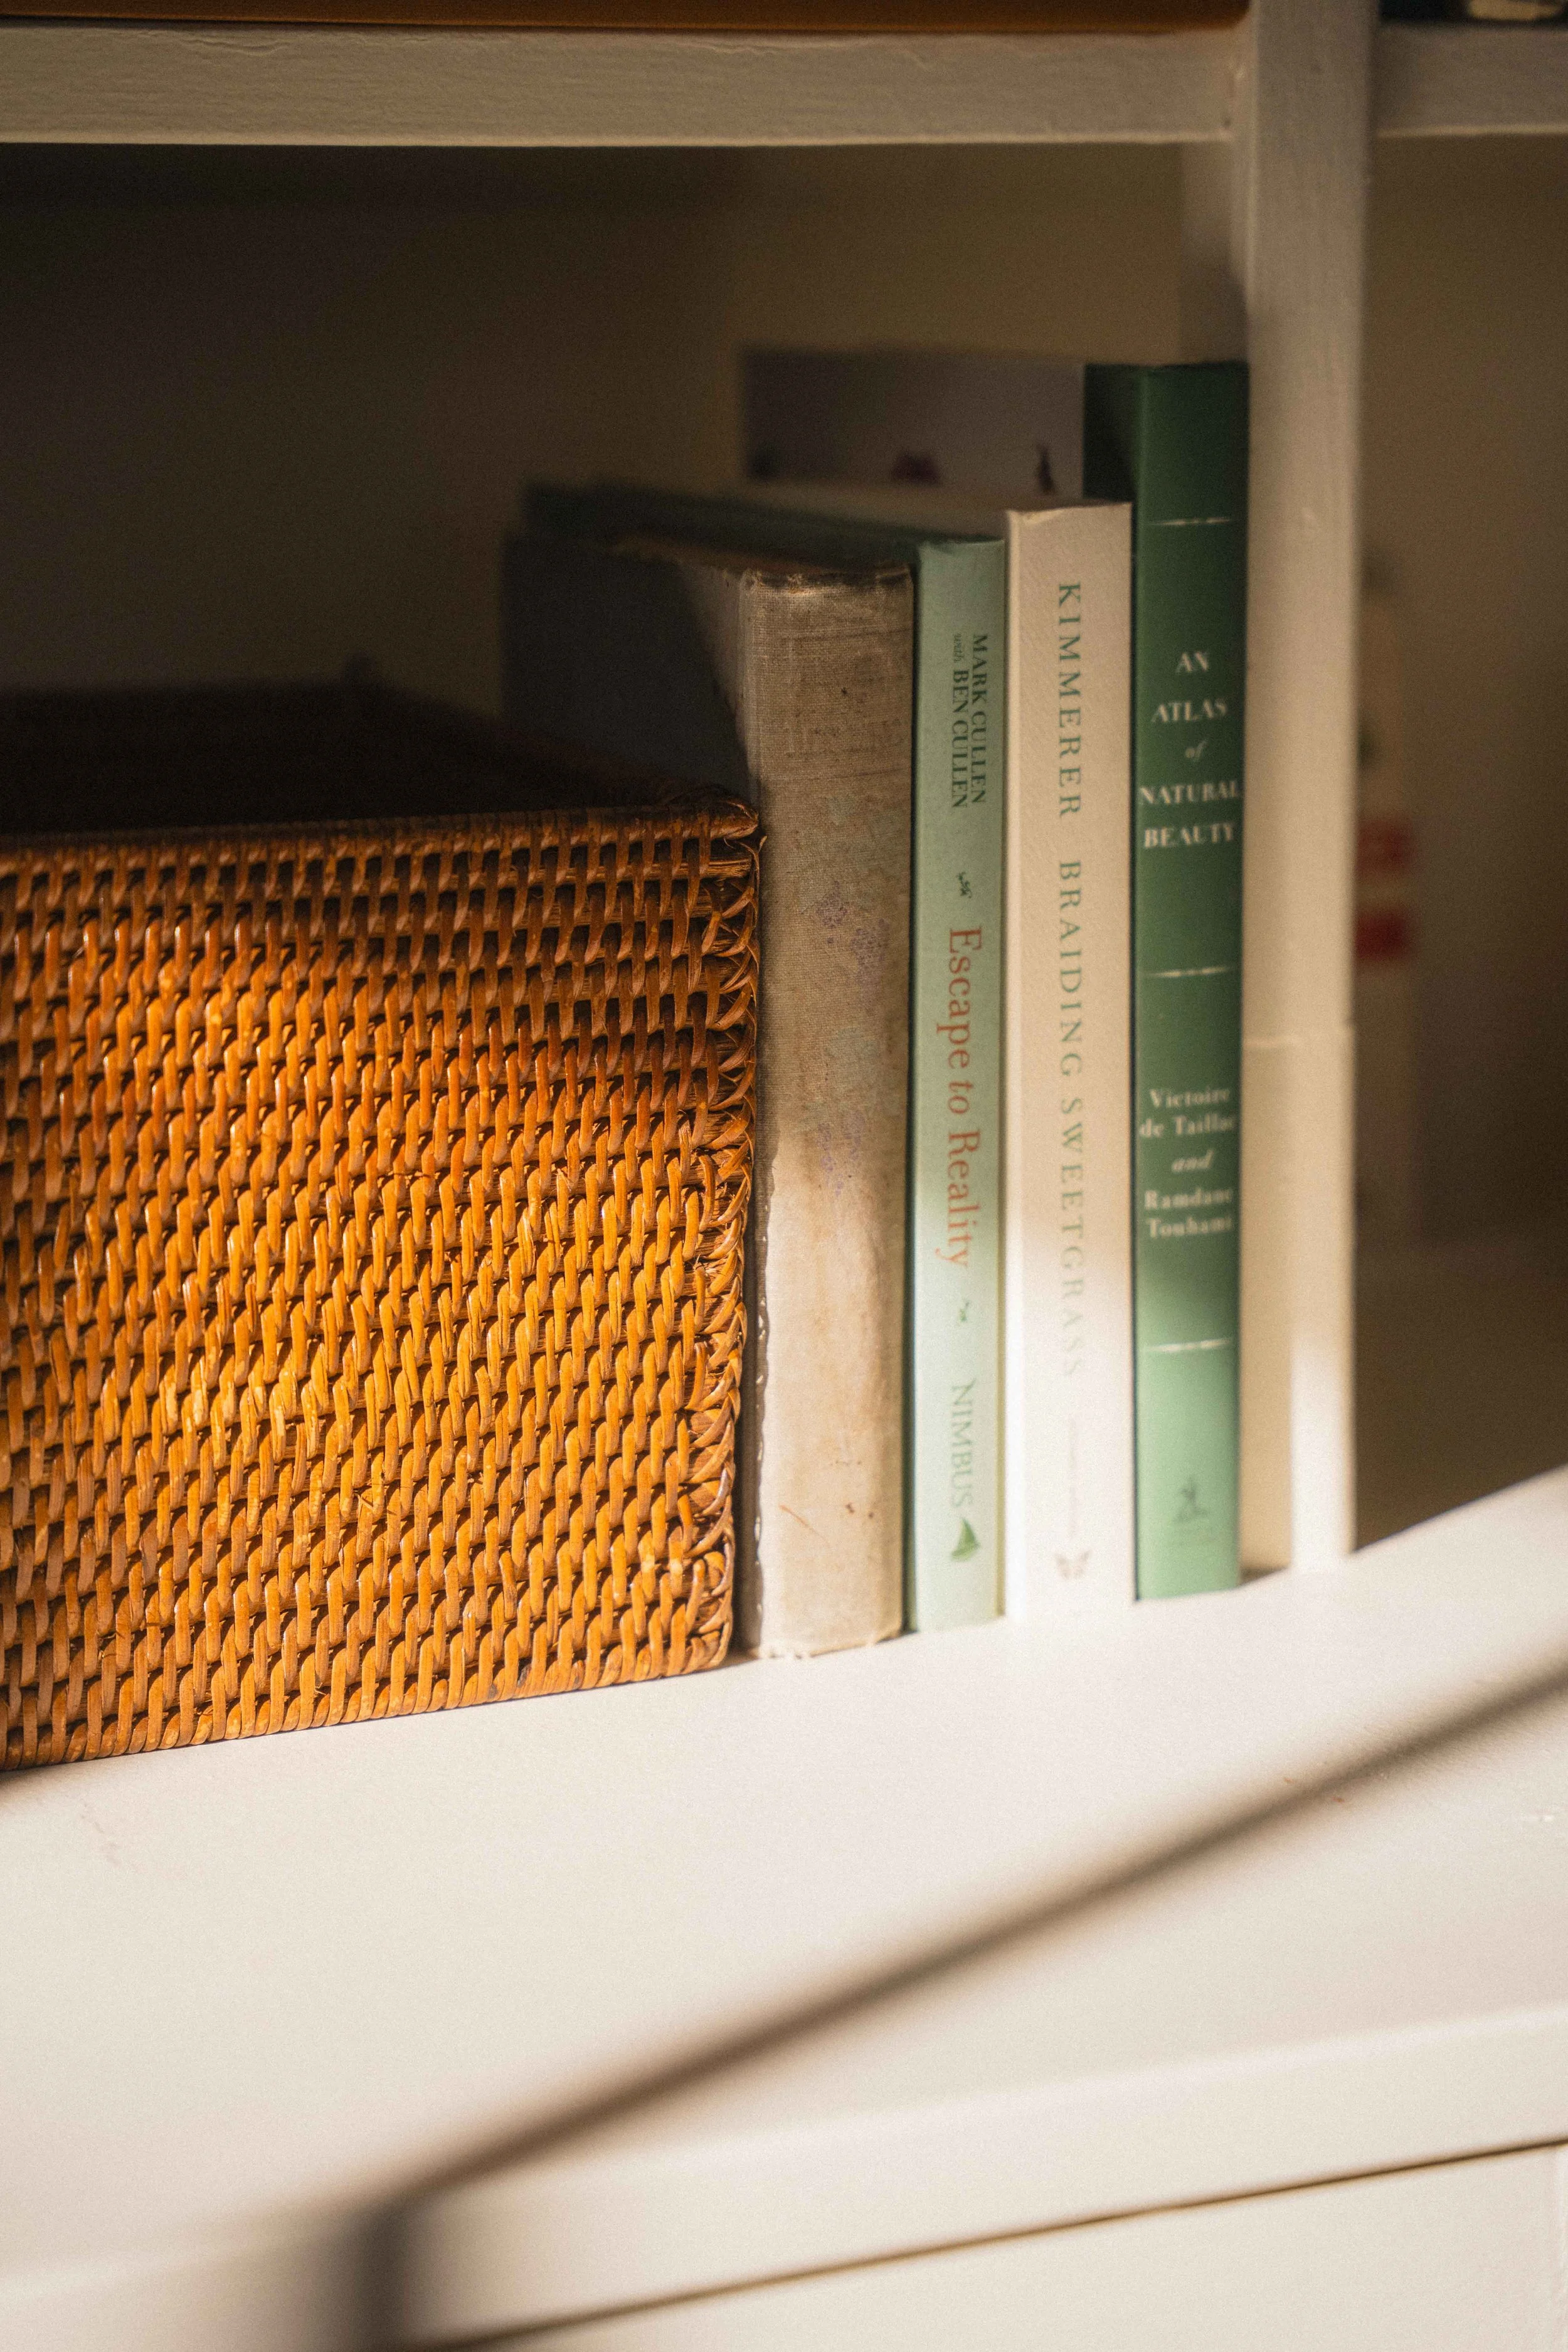
When styling bookshelves, I pay attention to three main things:
1. Colour
Distribute colours evenly throughout the shelves so one area doesn’t feel visually heavy.
2. Value (Light vs Dark)
Balancing lighter and darker tones helps your eye move naturally across the wall.
3. Scale
Mix large books, small stacks, and decorative objects so everything doesn’t feel uniform or crowded.
The goal isn’t symmetry, it’s rhythm.
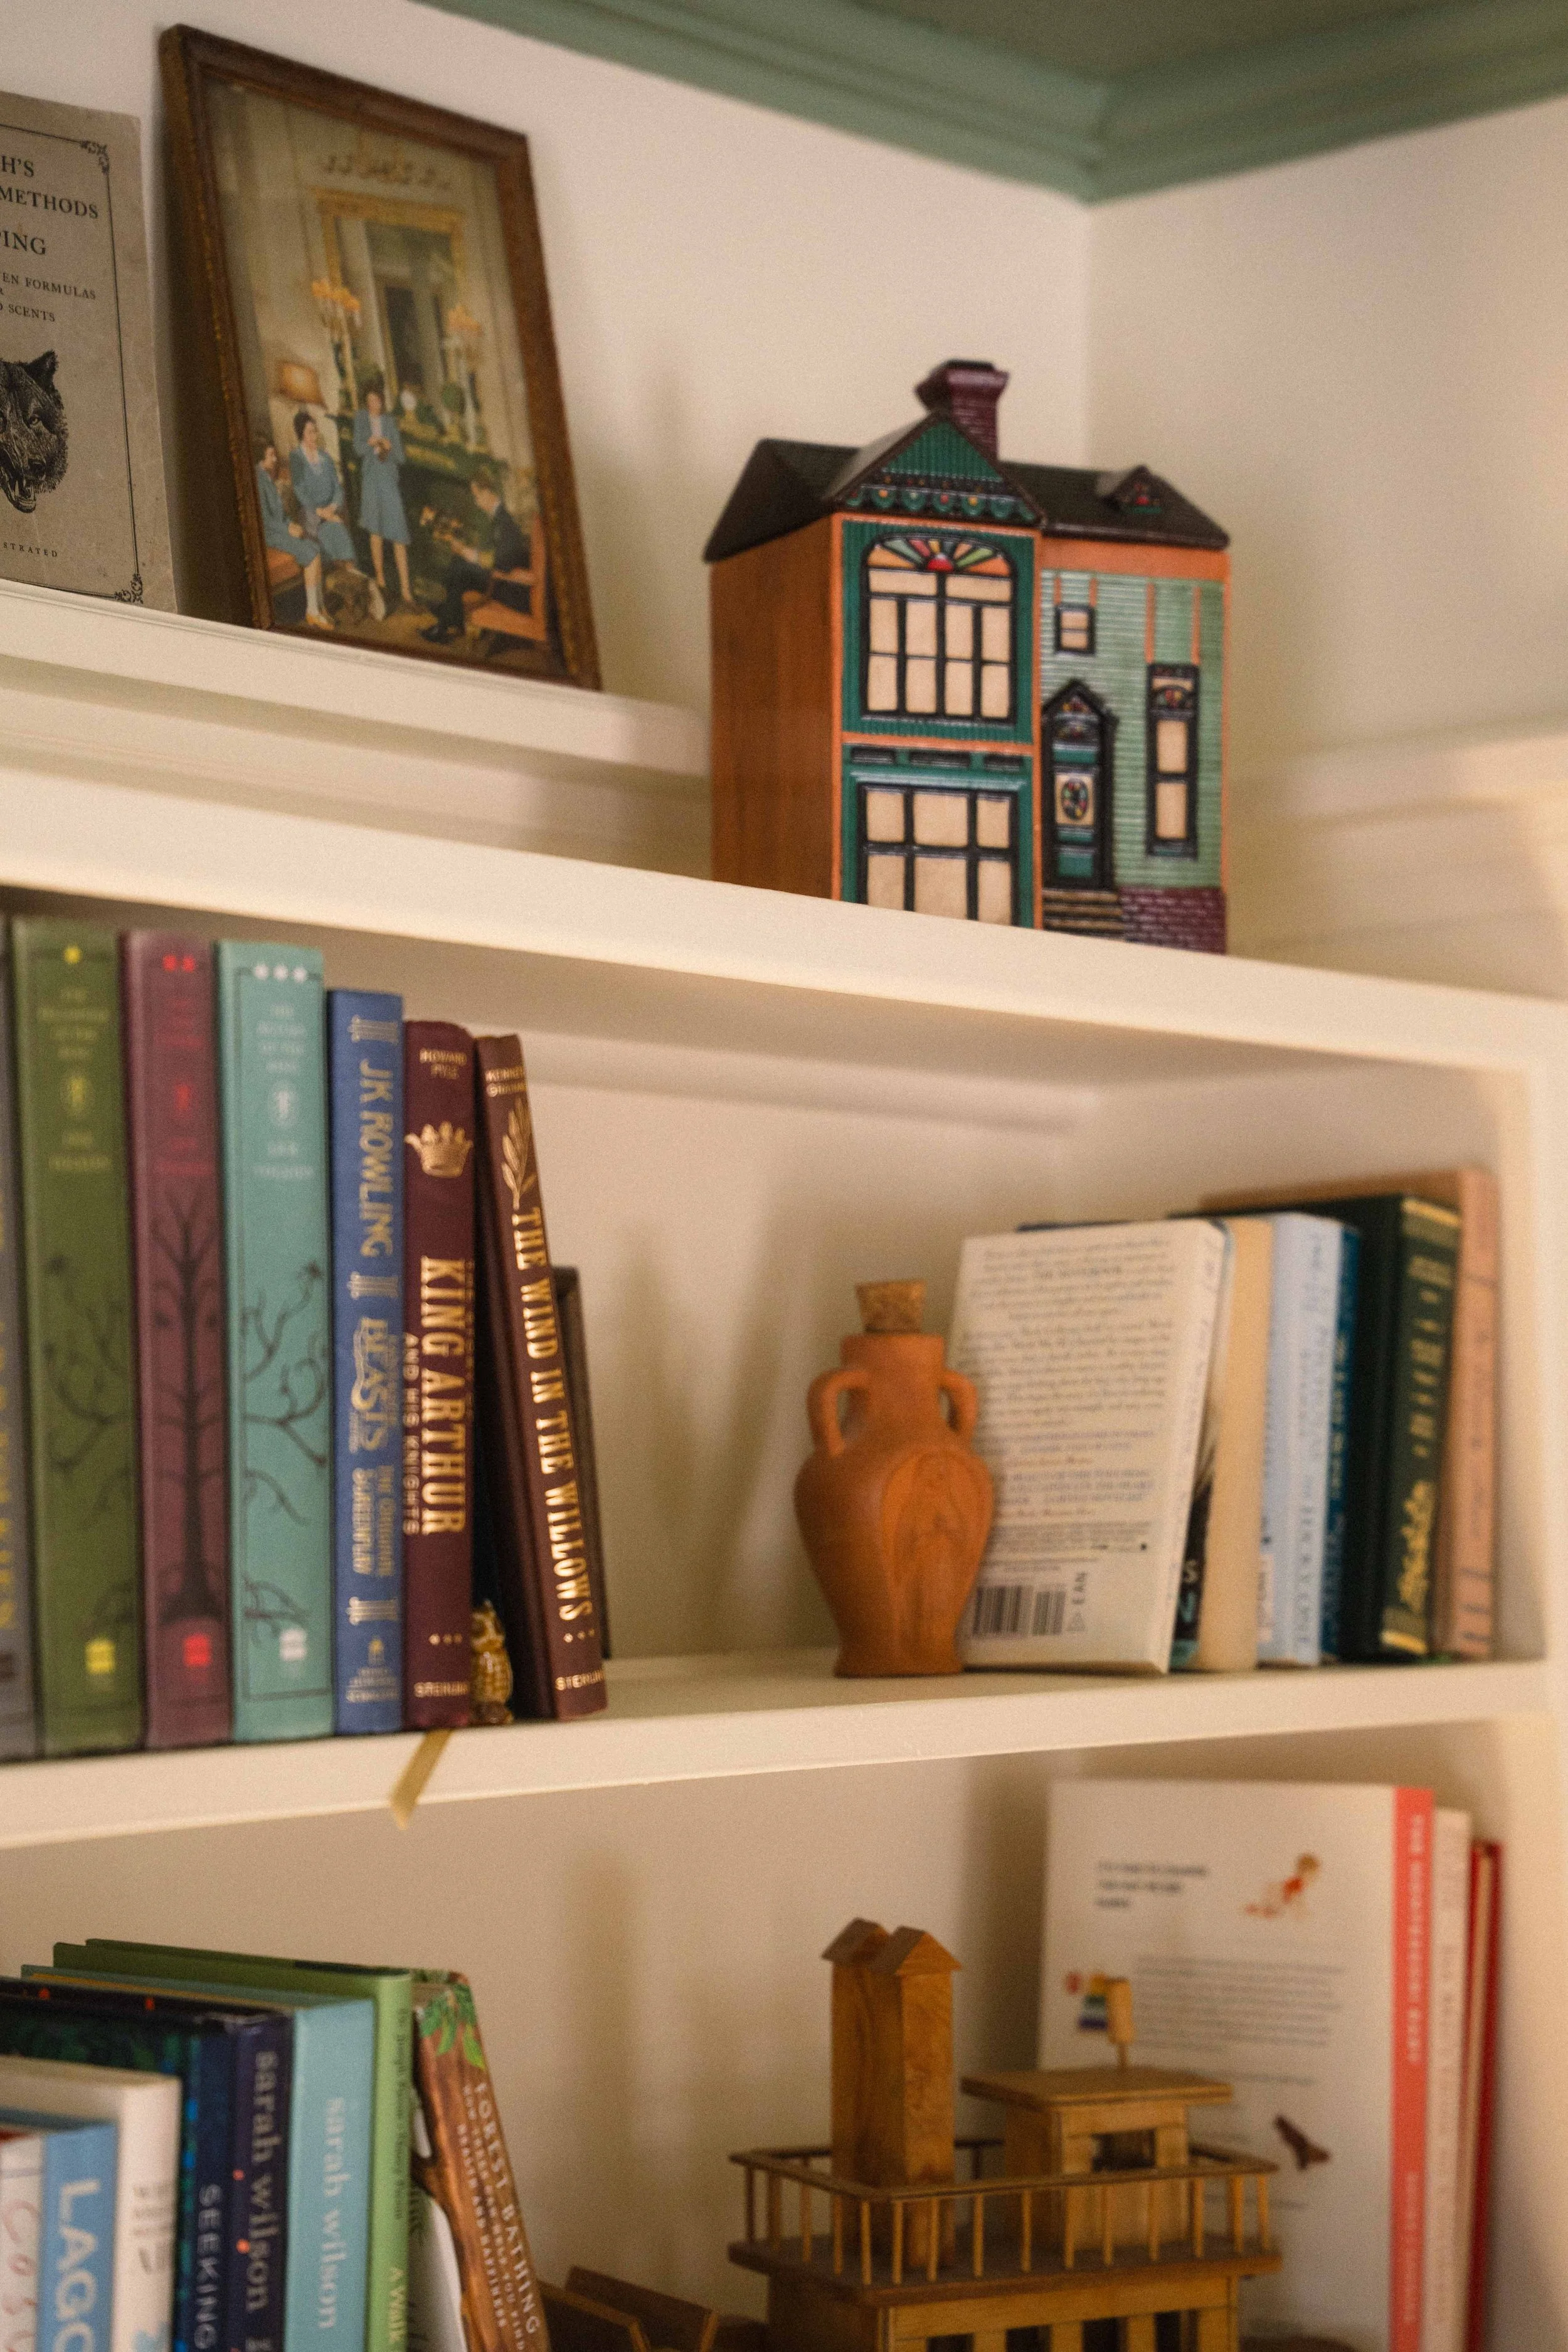
I also like hiding small whimsical details among the books — in this case, these tiny red rose figurines from my mother-in-law. They’re like little surprises tucked throughout the shelves!
How I Organize My Books
While the shelves look relaxed, the books themselves are still organized in loose categories so I can actually find things when I need them.
Here are my categories:
Children’s Books - these are upstairs in their own nook.
Classics - including Modern Classics.
Cookbooks - I wish these could fit in the kitchen, but I have limited cupboard room as is.
Encyclopedias & General Knowledge - these live in the office.
Fantasy & Romance - while I don’t currently own any Romantasy books, having these two together certainly solves the problem of where to put them.
General Fiction - all the rest.
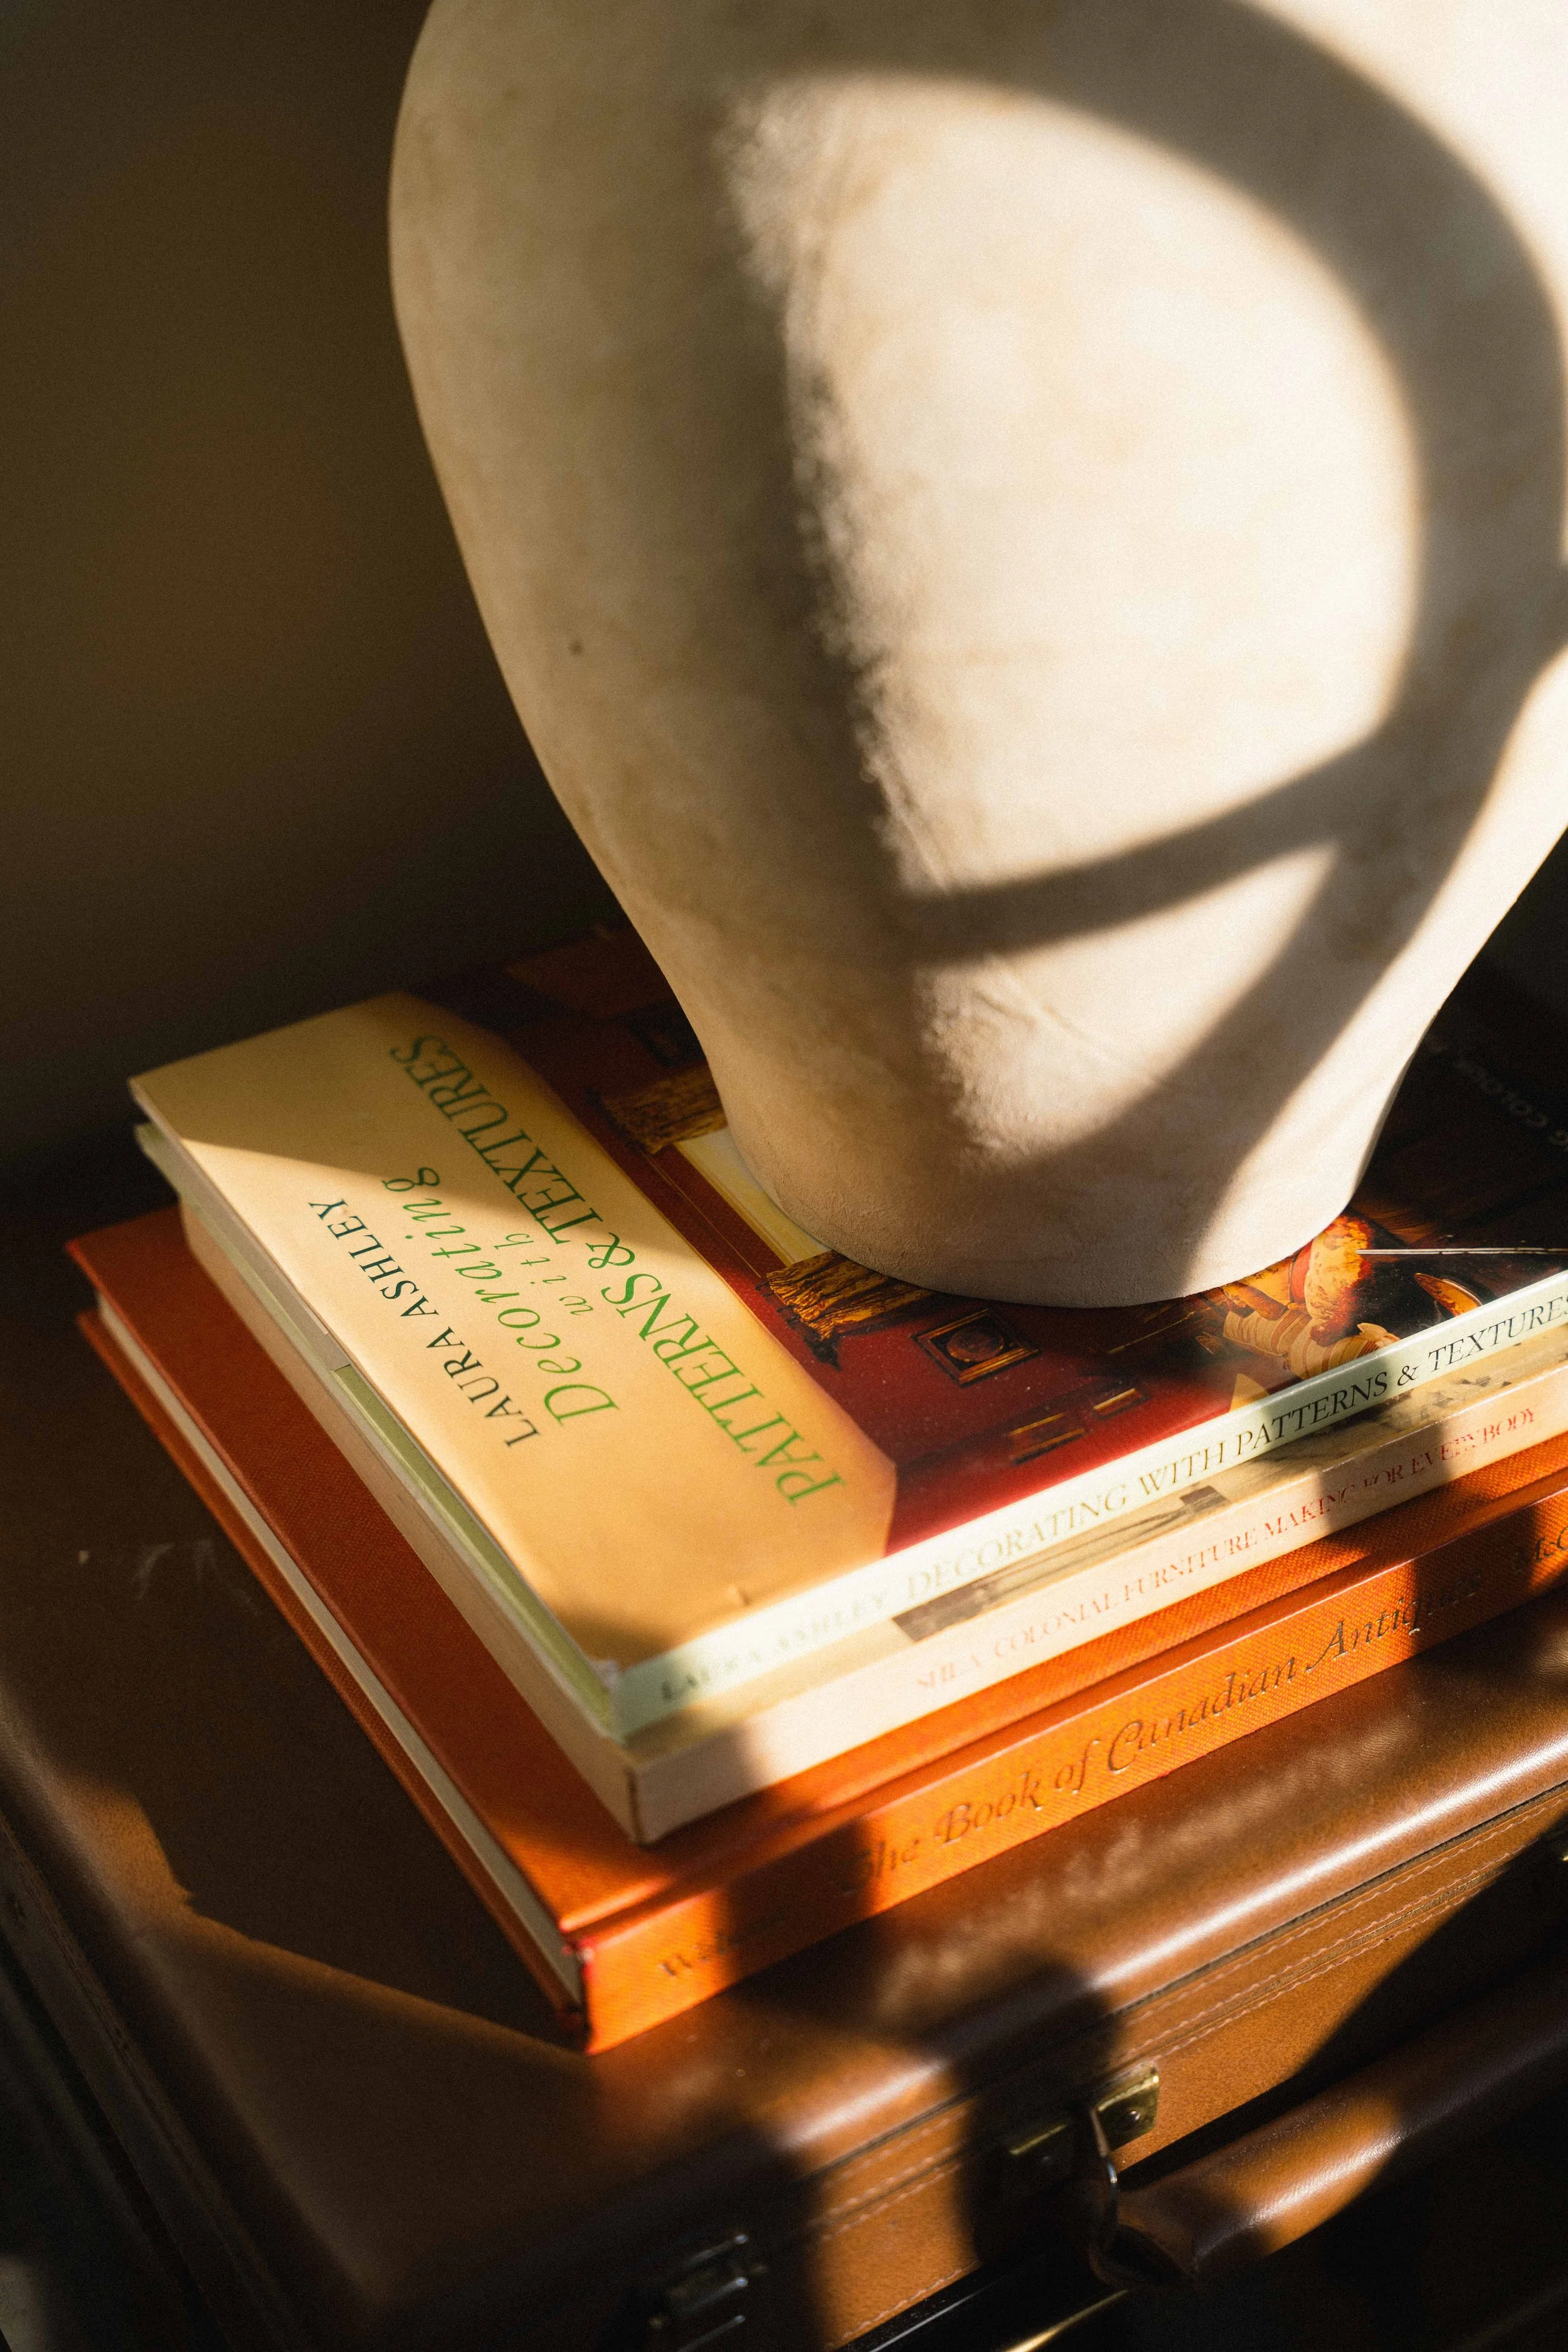
Home & Garden - am I the only person who actually reads coffee table style books cover to cover? They are such a pleasure.
Language & Travel - these also live in the office. I have a lot of language learning books and destination guides (tourism is a niche interest of mine).
Lifestyle & Biographies - books like ‘A Cornish Summer’ and ‘Magnolia Story.’ Anything to do with ways of living or peoples’ lives.
Magazines - I still love flipping through Magazines and I have a rack for them!
Mental Health & Well-being - this lives next to the lifestyle & bio books, as there is some crossover. Books like ‘Forest Bathing’ and ‘How to Hygge.’
Series or Collections - if there’s more than four, they get their own spot, as some of them take up so much room!
The system isn’t as organized as Alphabetical or the Dewey Decimal system, but it provides enough structure to keep the shelves functional.
With Room to Evolve
We don’t have much furniture in the room yet.
Eventually I imagine adding:
a chaise or a second reading chair
a large ottoman
curtains to soften the windows
a few more surfaces for books and coffee cups
But right now, restraint feels important. A home doesn’t need to be filled immediately, it needs to be lived in. There is confidence in letting a room breathe, and in sitting with what you already have before deciding what comes next.
After all, curating a character-filled home takes time.
Now, this is where we sit and have coffee together each morning, and that feels like a very good place to start.
Sources & Details
Light fixture: find it here.
What’s Next?
This was the first room we updated after moving into our historic home — but it won’t be the last.
Next up: the office.
pin for later…